Smoke and photography
A review of all the things that didn't work.
Hi, I'm Ork, and I'm addicted to smoke!
In my continuous quest to find the perfect smoke I've gone through dozens of different types of smoke machines. I've mixed smoke liquids to find the perfect combination of density and duration. I have used water, ice, dry ice and even explosives. All for science. Or actually: for the perfect smoke!
By now I think I've gathered some knowledge on this subject.
So I am writing it down! Not because there aren't plenty of reviews on smoke machines out there already, but because those tend to focus on how to properly smokify theatres or large venues, or on how to create long lasting types of fog for large audiences. And, while amazing, they seldom reflect on my specific usecase: smoke that looks exactly perfect for that one shot, and then dissipates almost immediately, so I can think about what type of smoke I want for the next shot.
In essence: I need smoke that is exactly there when and only when I need it, then stays perfect for a few seconds, and afterwards is completely gone.
This is going to be a long post, and there won't be an option to like & subscribe either. This means it's dry stuff, which will cost you some energy to read, but hopefully you'll gain some knowledge by doing so. I'll touch up
on the various types of smoke machines I've used in the past, and what I liked and disliked about them. I'll explain what I use now, and why I use it. I'll dive into some details about fog juices and then of course some photos! Because photos.
Note: though I'll mention several machines, this post is not sponsored by any of them and reflects my own unbiased view. That said: if you happen to own a company that has the latest and greatest of fog machines ever - please do contact me! I'm always on the lookout for better fog! ;)
Stuff I used in the past
Regular foggers
These are your ordinary smoke machines. Cheap. Easy to use. Relatively unreliable. I've gone through about 6 of these before settling on more expensive versions of the same, and gone through about 3 of those as well.
Things that I like:
- they are easy to use. Fill up. Plug in. Wait. Press button. Fog!
- the fog that these machines create is easy to control. This holds especially true for relatively low-powered devices (or more expensive devices with intensity turned to low power) - you can steer where you need your smoke, and sort of paint with the smoke machine: add a dash here, some bits there, and you're good!
- they can be cheap. You can get them for € 30,- and sometimes that's even including smoke liquid. Don't expect to have a unit that lasts long though.
Things that I dislike:
- the (often unpredictable) warm-up time. These foggers will typically warm up, be ready for a while, then become too cold and need further warming-up. This means your model can be in that perfect pose for which you need smoke.. and there isn't any.
- watch out for mid-range machines without a dedicated smoke intensity control - they tend to be too powerful for studio photoshoots .
What I eventually went with:
I eventually learned that cheap means bad, so went with a slightly more expensive bracket and that seemed to be more reliable. I'm currently using a Ayra WSM 02, mostly because it stays warm (so no cooldown interruptions mid shoot) and you can dim the smoke intensity. That's all I need.
Hazers
This is the type that creates a thin almost-invisible layer of smoke intended for theatre spots to have nice visible beams. I've used these once or twice, but they don't fit with my style often and I can fake the effect with other smoke machines easily enough. I never got one.
Ground foggers
Now we're talking! Ground foggers produce smoke that stays on the ground! I love that aesthetic! These typically work by blowing the smoke of a regular smoke machine across some kind of coolant which causes the smoke to cool and the fog to stay low.
Experiments I tried:
- I've used the Eurolite NB-60 Low Fog Machine for a while. Works decently enough, though cooling with ice was not super effective for me. Dry ice is better, but can be nasty to obtain. Furthermore, I don't know whether it's typical or not, but I've had two of these break down on me within two years.
- The Frankenfogger. A.k.a. when the last version above fog machine broke down, I just ripped out the regular fog machine bit at the back and replaced it by ducttaping a regular fogger to it. Worked equally well. Broke down too.
- A lake. Or rather: the insight that the coolant doesn't have to be near the fogger. If you blow smoke on a cold body of water, it'll cool down enough to stay low for a while. So by building your own lake you can get decent results! Downside: everything will get wet. The floor will hate you.
What I eventually went with:
Lately I've been using a lightmaXX Vega Mini Low Fog for this. That's a fogger that uses ultrasonic vaporisers to create an ultrafine mist of water, causing it to cool well enough so that it stays on the ground for quite a while. I am really in love with this effect, and will continue to experiment with this set up for the time being! I'll update this post when it breaks down :)
Portable smoke machines
The biggest downside of smoke machines is that they require power. Lots of power! So in my quest of to achieve the perfect smoke-on-location I tried various things.
Experiments I tried:
- Vapes. Don't underestimate the power of a make-up artist with a vape! Instant fog-on-the-go at any location! And comes with free voice control operation as well!
- I've tried automating this by 3D printing a nice enclosure around a regular vape, and adding a fan. Works decent enough for small bits of smoke, and I've used it for a while in the past. The power was a bit lacking though.
- Regular foggers attached to battery packs or generators. This works, and I have used it in the past, but it is hardly portable, and can make a lot of noise. Also, the typical power needs of a fogger are quite high, which means bringing a heavy generator. This works, but it's just not my style.
- Locations that sneakily do have power. Yes. You can rent a forest in the Netherlands that has power plugs hidden in trees. Or medieval villages that are sneakily solar powered. This works.
- Explosives. A.k.a. smoke bombs. Out of all the options above, this is what I liked the least. They're unplannable, and either produce not enough or too much smoke, and you'll never have enough of them on location. Also, explosives and forests don't go well together. Don't do this.
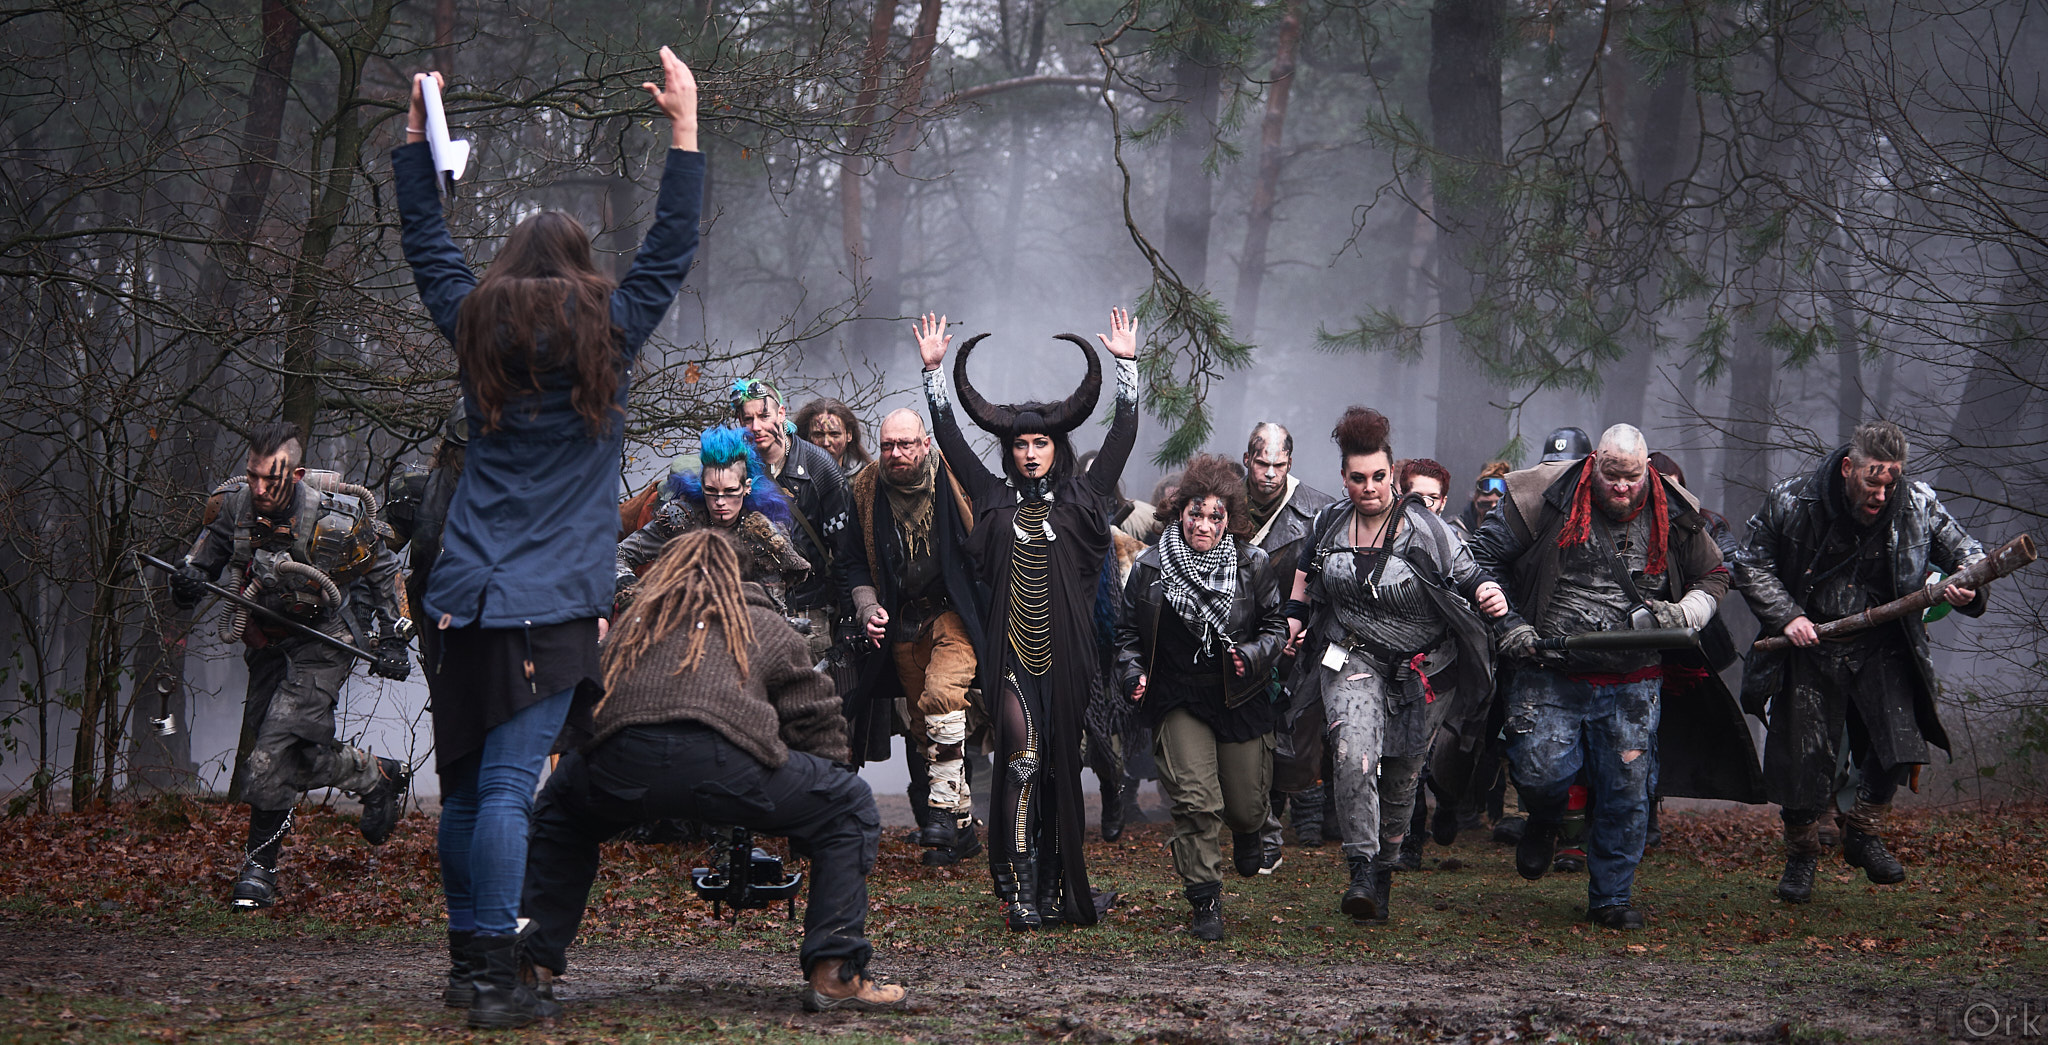

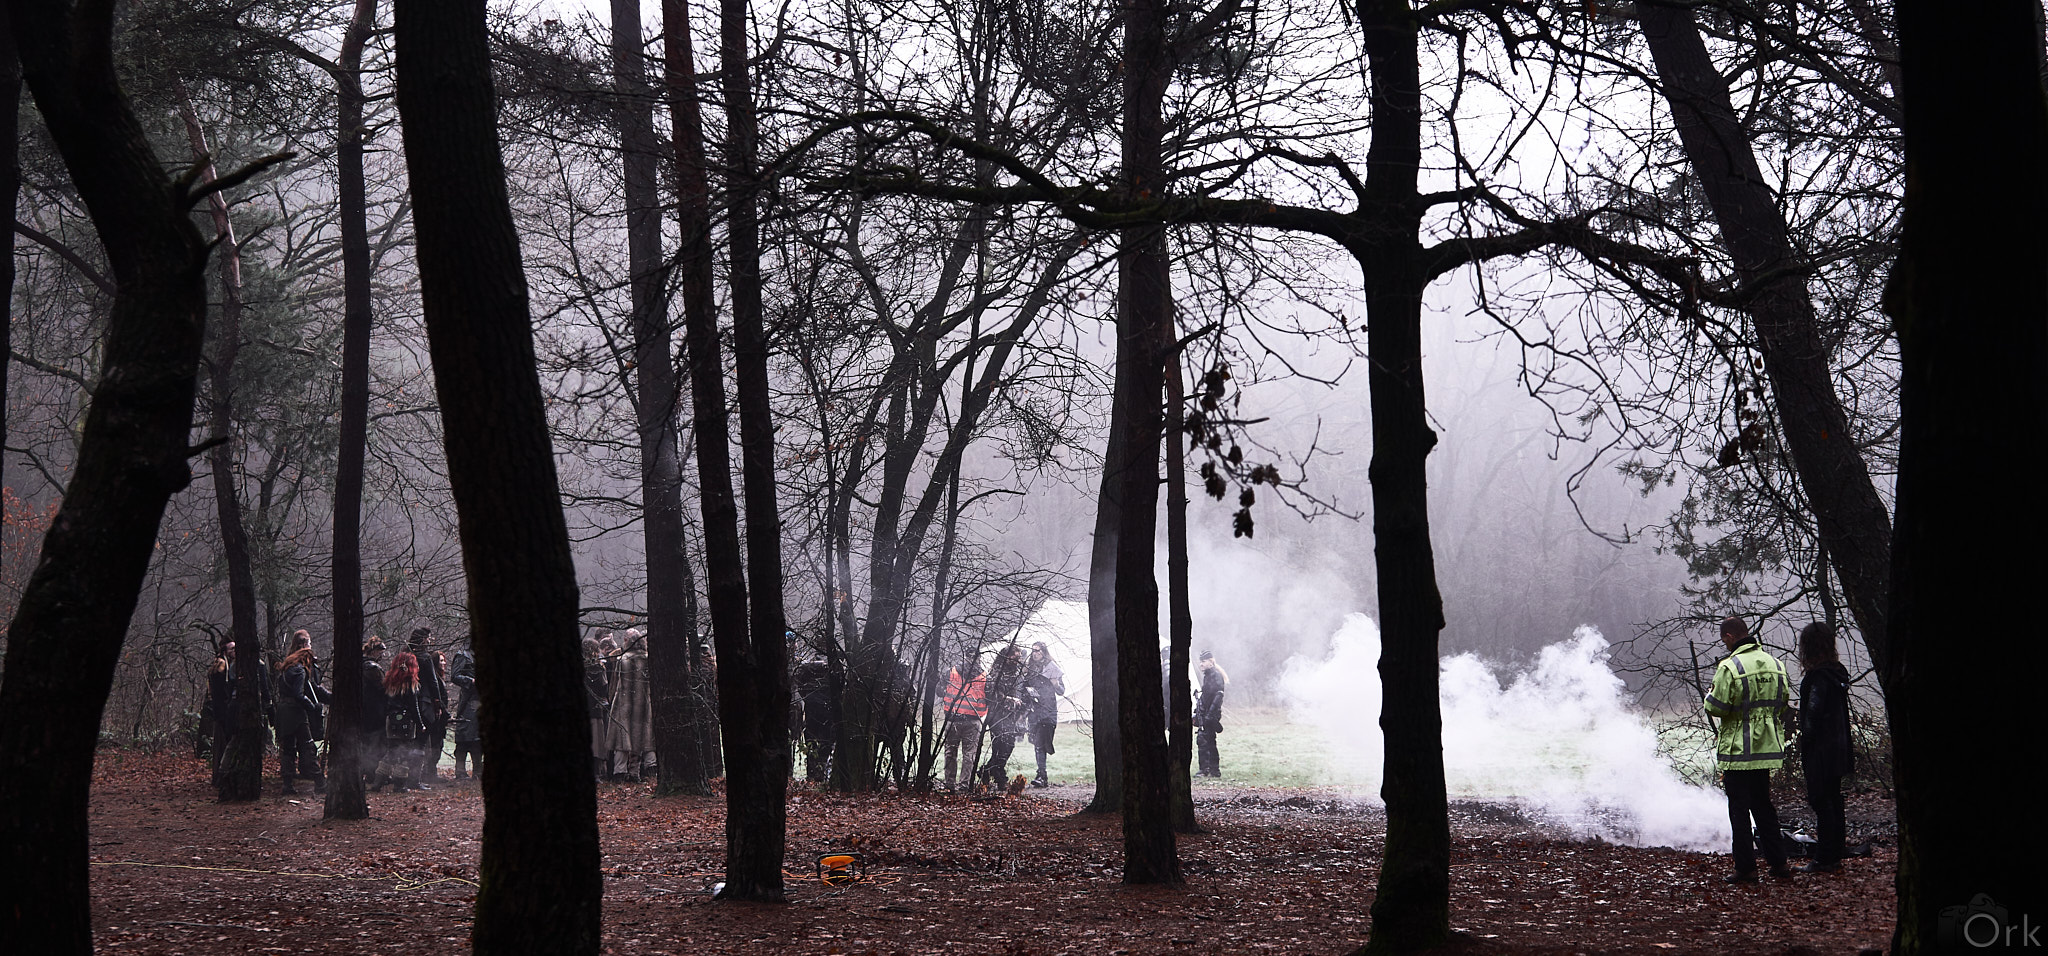
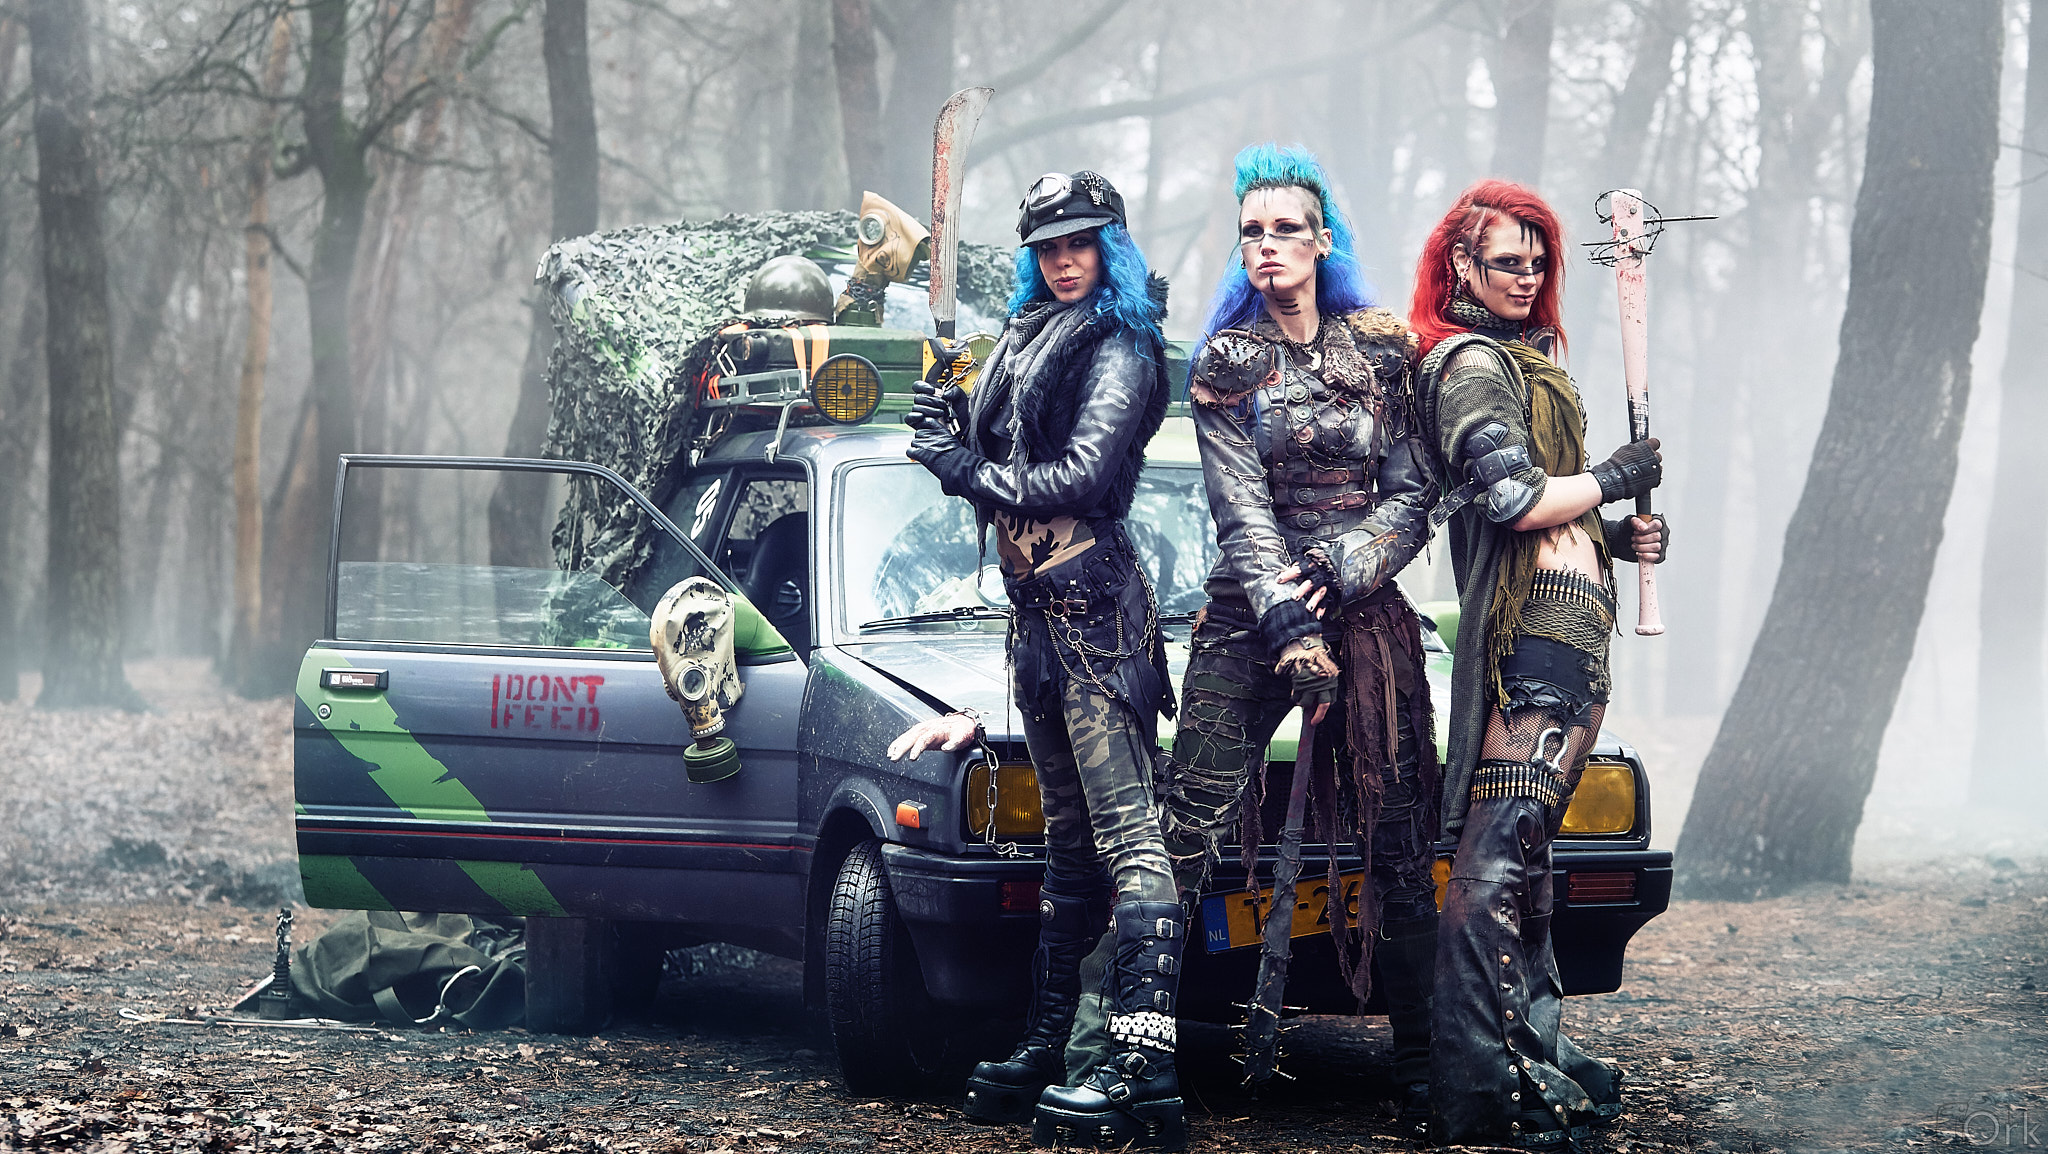
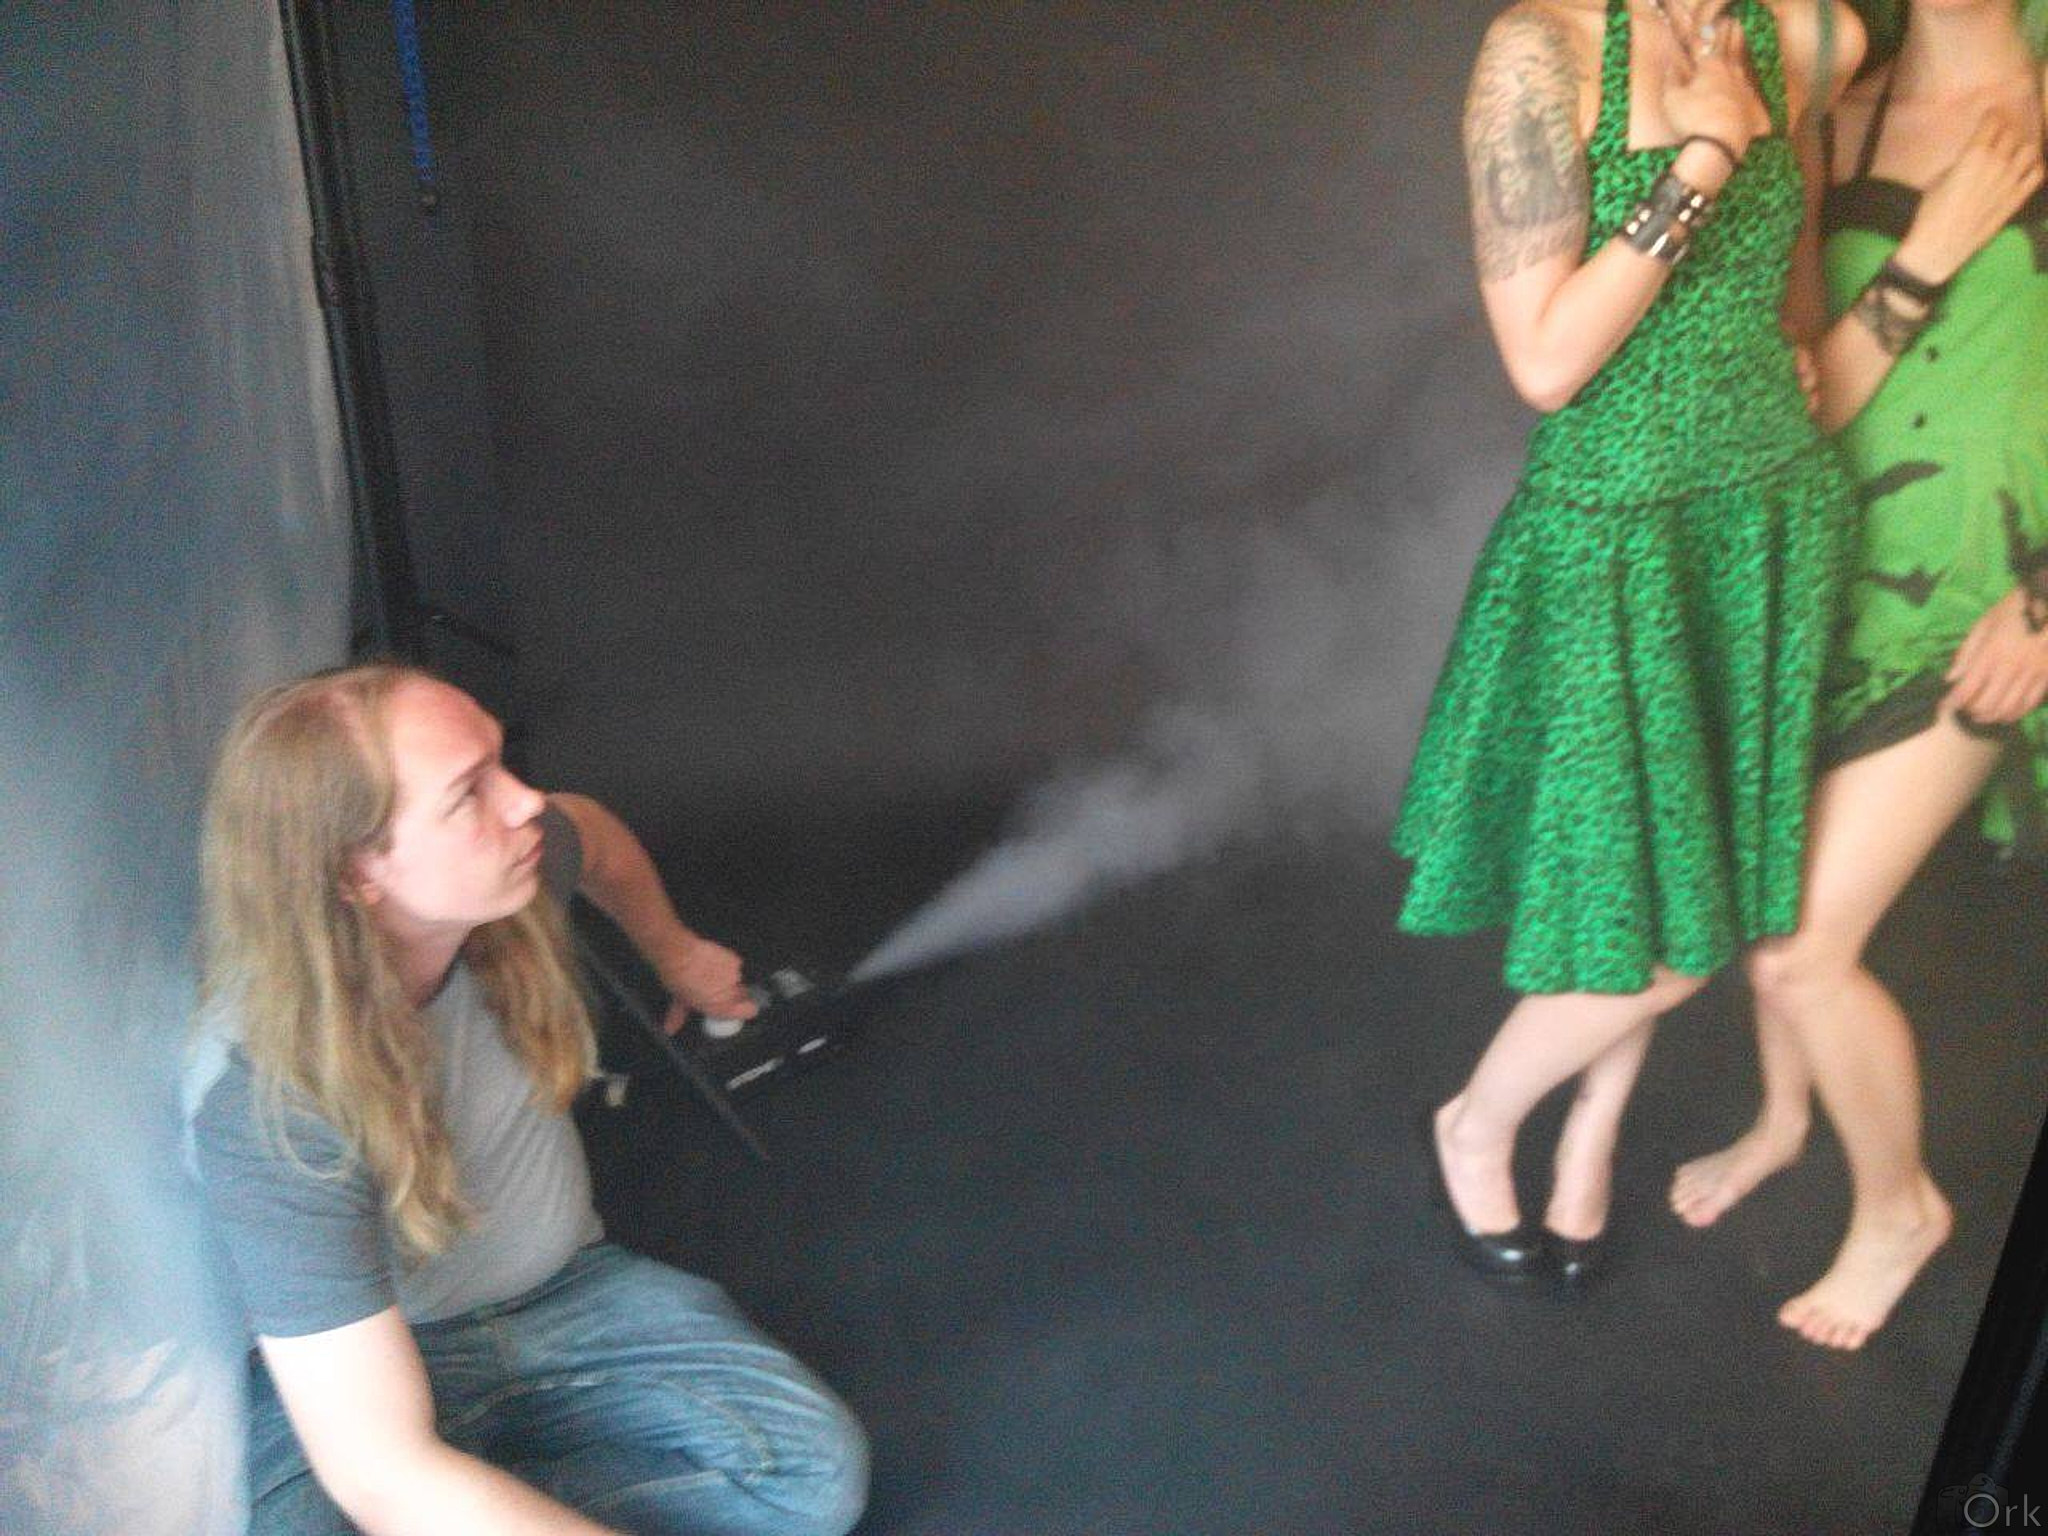
Not kidding about those forests with power plugs though. Here are some BTS shots I took during the video recording of Shireen - UMAI which I smoked exactly using that.
What I eventually went with:
I ended up getting me a Smoke Factory Scotty MK2 - a portable smoke machine that's instantly ready and powerful enough to create thick layers of fog when you need them. Not cheap. But perfect!
Digital smoke
As a side-note, but good to mention here as well. Don't believe all you see - I often enough just add smoke and haze layers to my photos during postprocessing.
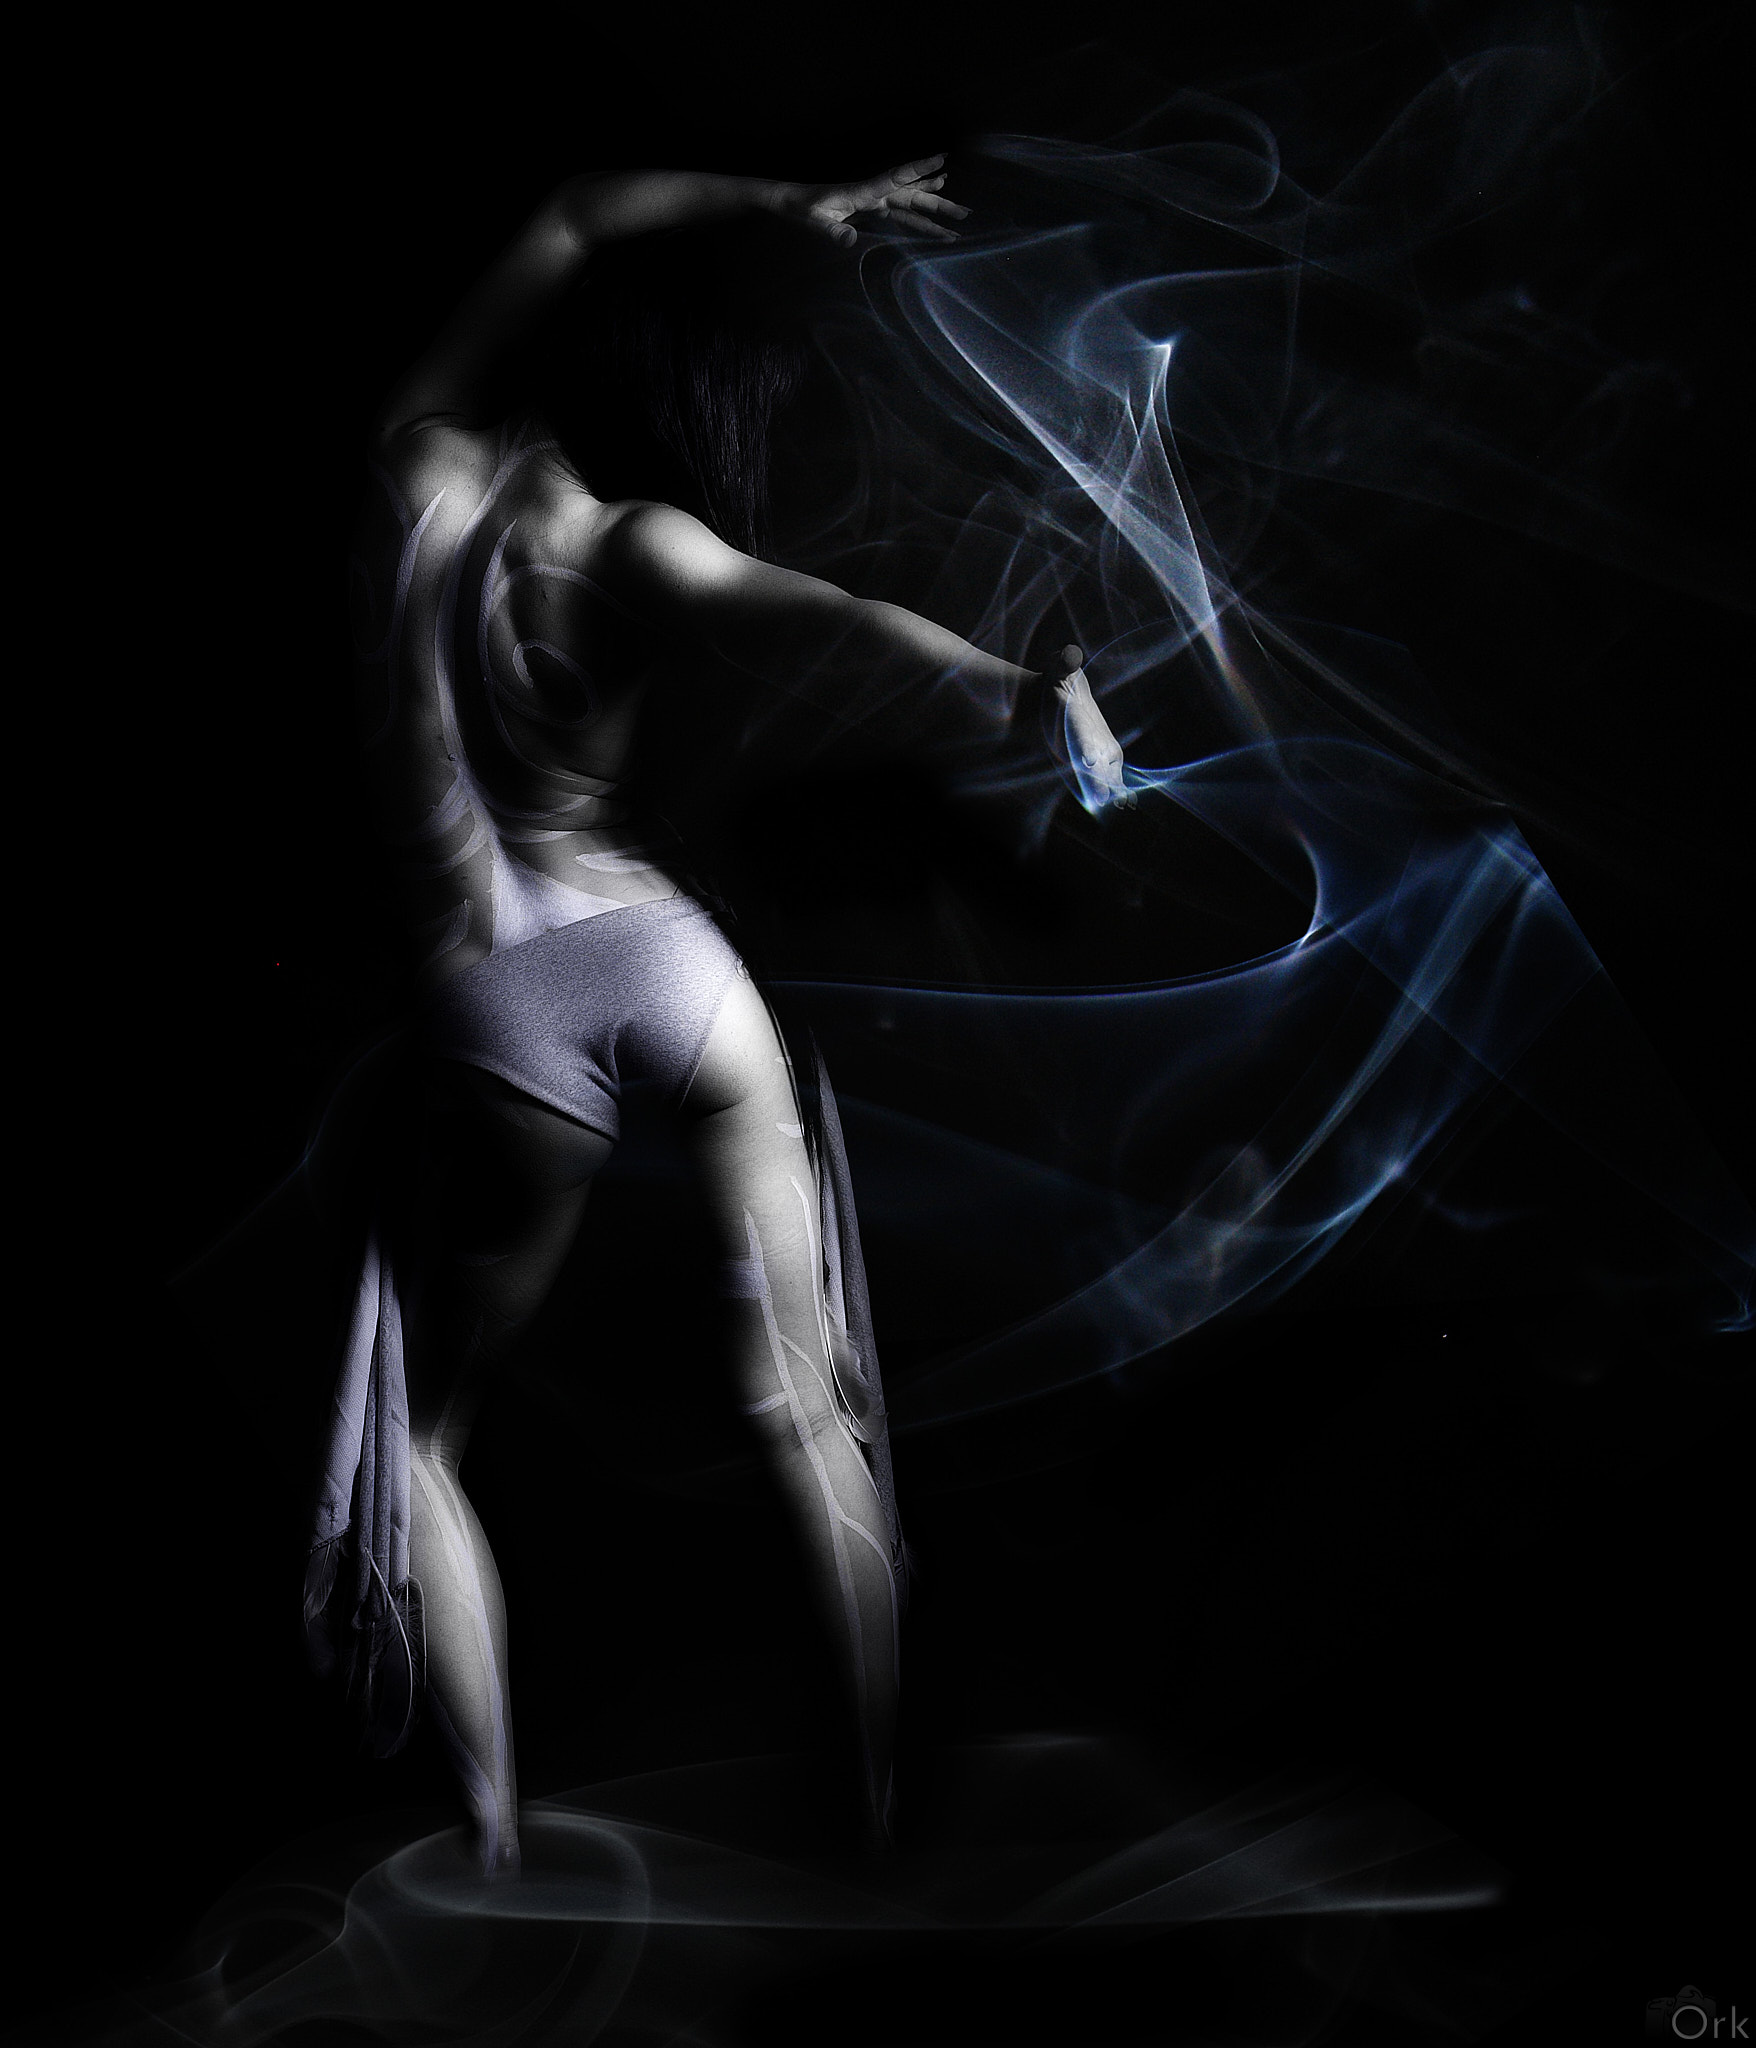
See for example my recent post of Pixie in pixelworld or the image to the right of Shireen, taken back in 2010, and containing one of my first experiments with photoshopping in digital smoke.
What about smoke fluids?
This is where it becomes interesting! The type of fog fluid you use will have a large impact on the type of smoke you'll get. "Light" fluids will produce more hazy, see-through smokes that are typically shorter lasting, while "heavy" fluids will typically produce thick dense fogs. I typically love the more denser looks, though most commercially available liquids unfortunately also combine "dense" with "long lasting", which I find to be annoying.
If you go online and search you'll typically find fluids that are "light", "medium" or "heavy" from both cheap and premium brand variants. Each brand typically notes in the manual of their fogger that using any different brand than their own will invariably destroyify your machine, and more, your warranty! This sounds a bit like scare tactics to me, so I did some research.
I am not a chemist, and others have explained this better. Here's my take on it.
- fog machines work by heating fog liquid - typically a mixture of water with some added compound in it until it vaporises, and you get fog.
- this added compound is often propylene glycol (PG), though dipropylene glycol, triethylene glycol or glycerine are also often mentioned.
- the exact mixture of each compound determines the duration and density of the type of fog you get.
Cool! So, that means I can mix my own right? From what I understood, I should start with propylene glycol as it seems to be the stuff that allows rapid dissipation. I got a bottle of PG, readily available due to people creating their own vape fluids for some reason, and started mixing it with purified water. My notes so far:
- adding water to a "heavy" fog liquid gives it the properties of a "light" type liquid. Nice. I never have to buy separate bottles anymore.
- less than 15% PG (and more than 85% water) is basically a hazer. A very thin smoke that dissipates quickly. A bit too boring for me.
- too much PG and my machine will stutter and leak. Not good.
- 30% PG and 70% water seems to be a nice combo, nicely dense, but without anything else this disperses too rapidly even for my taste. I need it to stick slightly longer.
- by combining this with a normal heavy fog fluid the density stays approximately the same, but the more regular fluid, the longer the duration. That's cool! So I can adjust existing fog liquids and change them into a liquid that disperses rapidly. All I need, for now. End of research! For now ...
On the topic of safety
I am not a medical expert. I am not an expert chemist. I have zero clue how lungs actually work. That said, I only have one pair and I'd like them to function perfectly, thank you. Experimenting with foggers and mixing fog fluids means mixing stuff that you will then potentially put into your lungs. As such, read before doing. Check the safety studies listed on Wikipedia and the ASEPO. Want to experiment? Have fun! Read those first. Then read more. Not just for your sake, but also those of your models.
What was my take on safety? Ventilate. Limit exposure. Short directed bursts of smoke are probably better than hazing up the entire room. Finally, always be wary of signs like people coughing or having respiratory problems. If so: leave the area immediately. This hasn't happened yet, but that doesn't mean I am not paying attention to them.
At the moment, I am back to using premium brands of fog fluid during shoots. Less hassle, less danger. I will continue to read and learn though, and if medical experts are reading this and have better views on this, ping! I'll update this bit.
And now?
I am not done with smoke. I'll continue to explore! Over time, I expect to update this post with new insights and new ideas. If you have read this article, then thank you for reading! If you found it useful or used ideas listed here in any of your productions, I'd love to know! Feel free to send me a message.
And because this site is about photos - below you'll find some!


