Workshop cinematic light
Where Ork went full teacher mode and told about stories!
Workshop Cinematic Lighting
Cameranu Experience Day — Archeon, 11 April 2026
Part of the post-workshop documentation, given by Ork de Rooij ( @orkfotografie ) and modelled by Satiella ( @its.satiella ). Thanks to cameranu.nl for hosting us and providing us cool opportunities to do workshops!
These notes are meant for the participants of the workshops, but after writing them I think they are well suited for a wider audience. Enjoy the read! Ask any questions always, and hope to see you in a future workshop!
We didn't talk about technique. We talked about story.
A strong portrait is a still from a film the viewer hasn't seen but immediately understands. Everything in the frame has to earn its place: the location, the light, the pose, the gaze.
As part of this, we have looked at several aspects.
1. The model is a character, not a subject
Before touching a camera, we talked to the model. Not about posing, about the character. Who are they? What are they doing right now, in this world, in this moment? That conversation gave us everything we needed. The story came from the model. We just built the image around it.
2. The location has to make sense
We looked for the place where this character belongs. Not the prettiest backdrop, but the right one. When scouting a location: where is the light coming from, what does the background do, does the character logically exist here?
3. The model goes in the scene, not in front of it
Once we had a location, we placed the model inside it. Not posed against it but living in it. The position, the gaze, the posture all had to make sense within the space. Give your model a thought, not a hand position.
4. Light the scene, not the face
We started without any added light and asked one question: what is missing?
Then we added one light, and repeat the question. Building the scene layer by layer. The goal was never to light the person, but to light the world. When the scene has depth and atmosphere, the model lives inside it naturally.
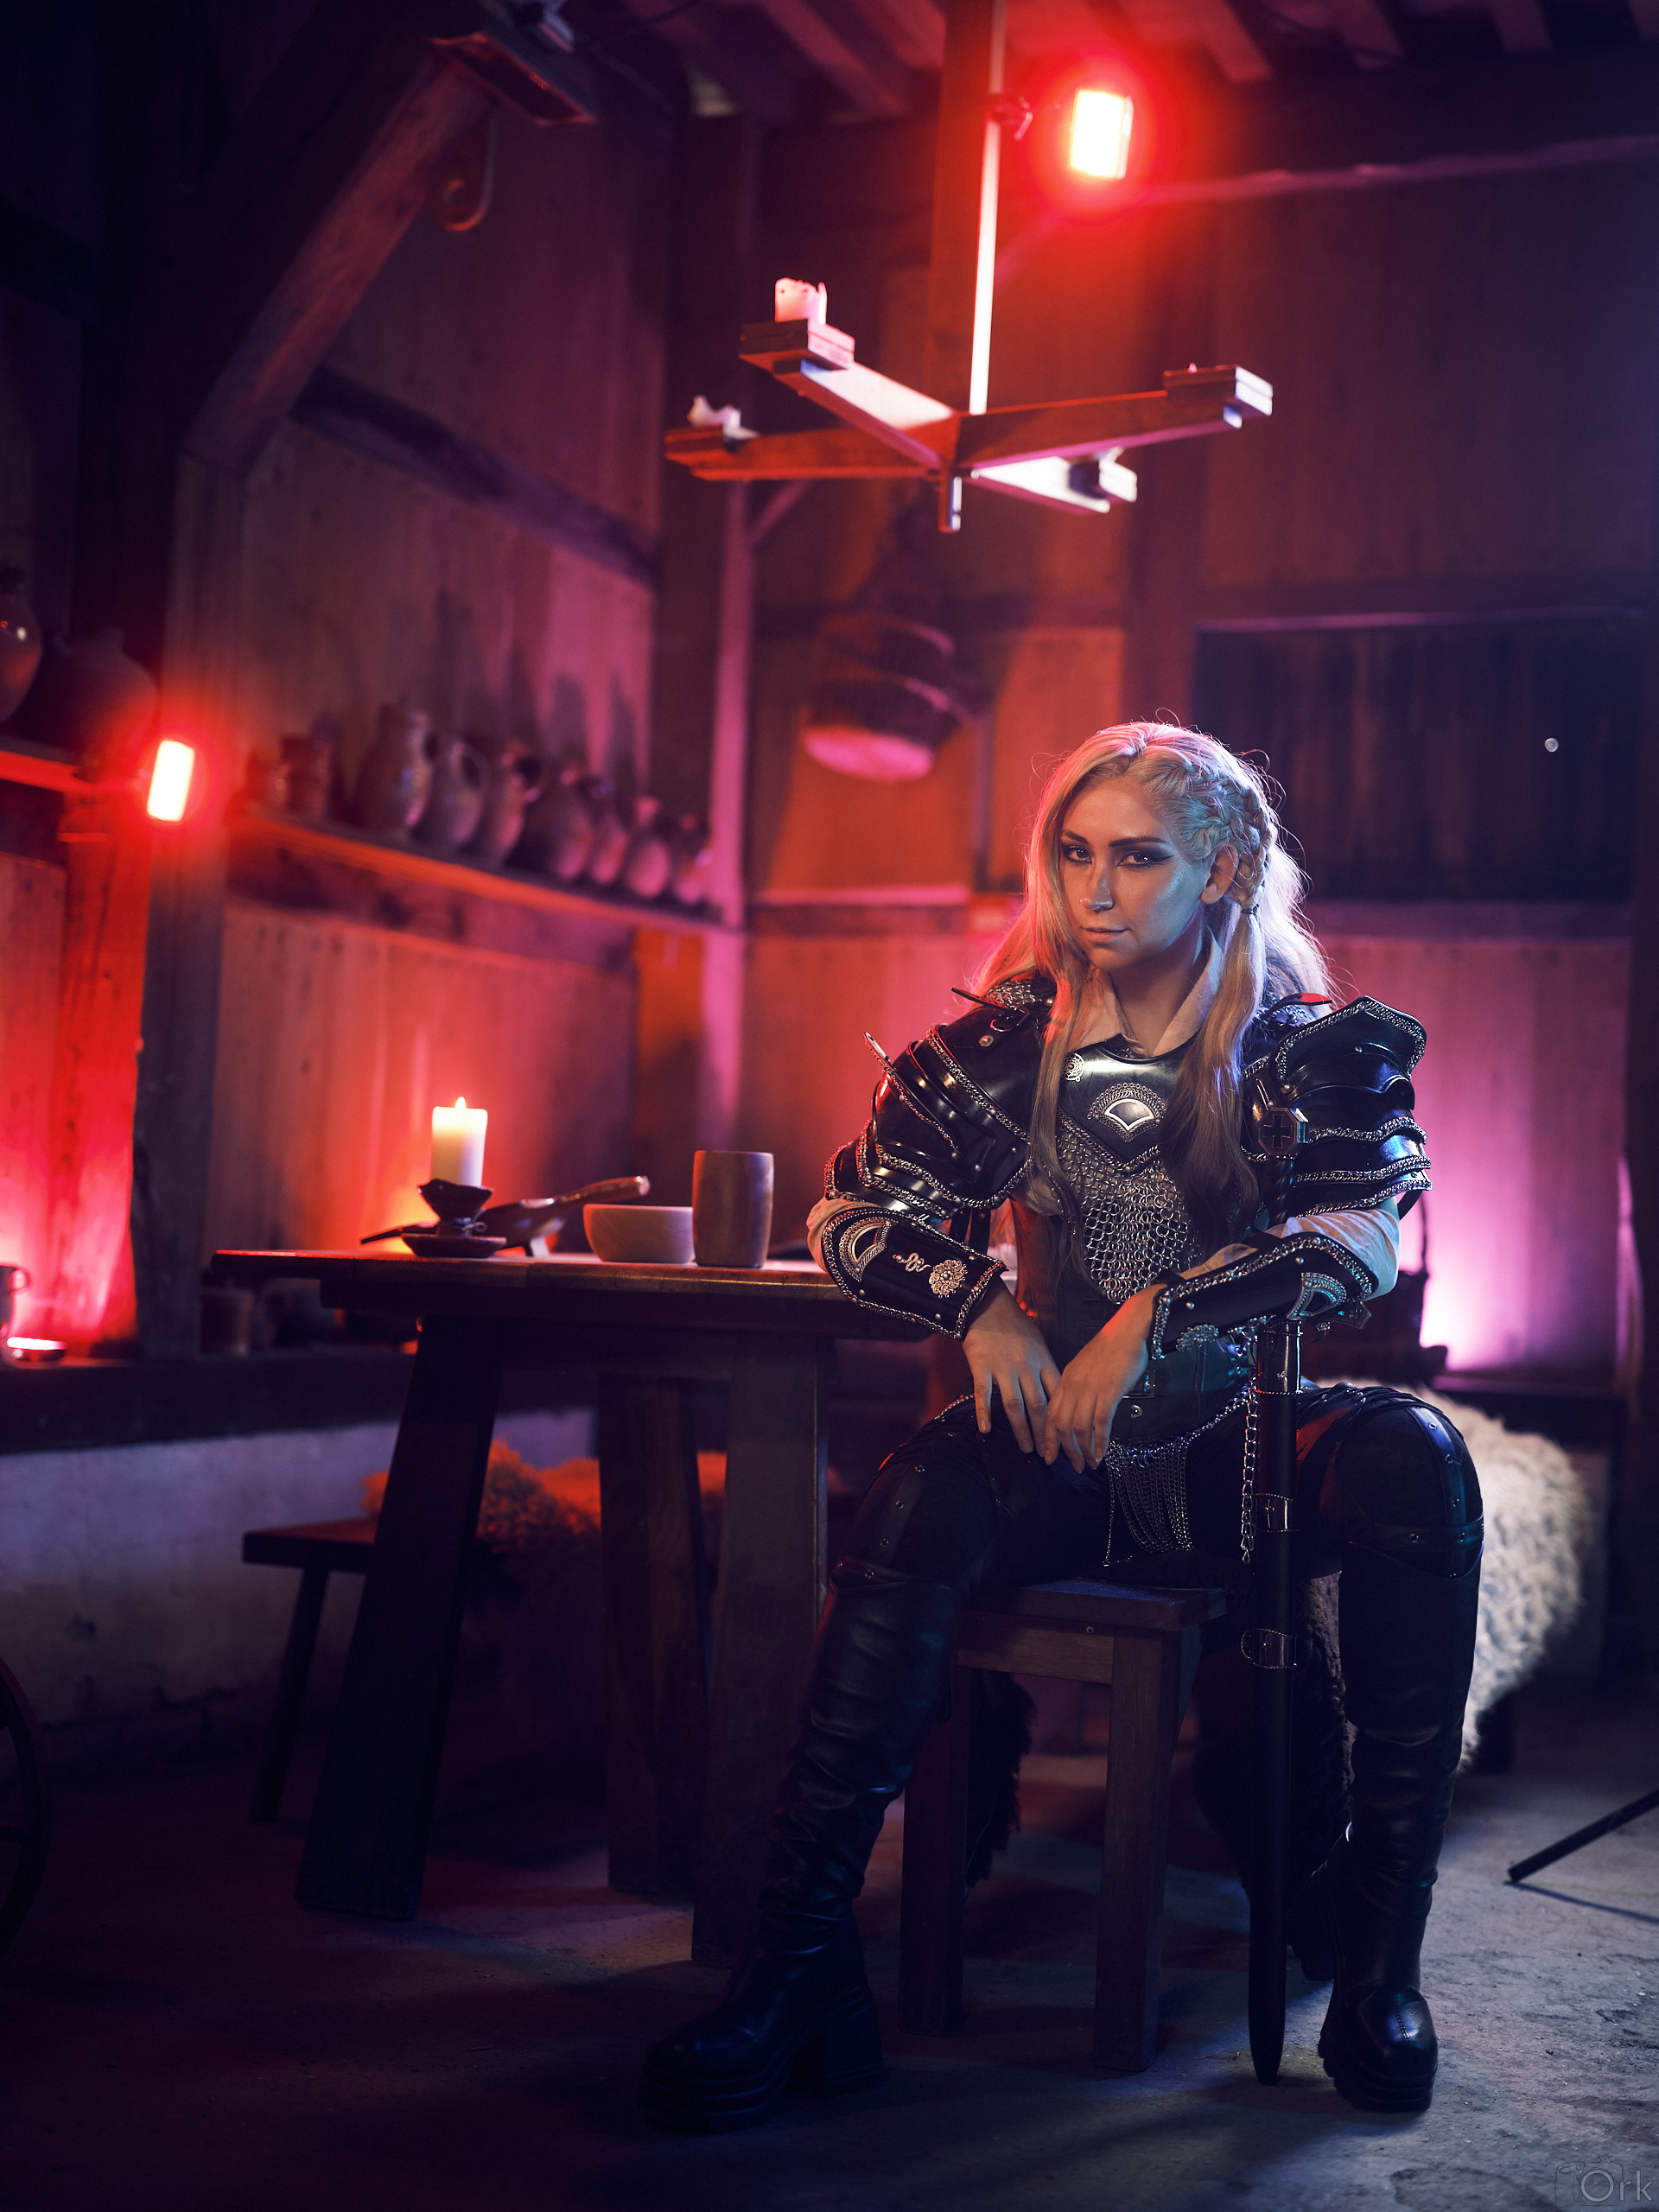
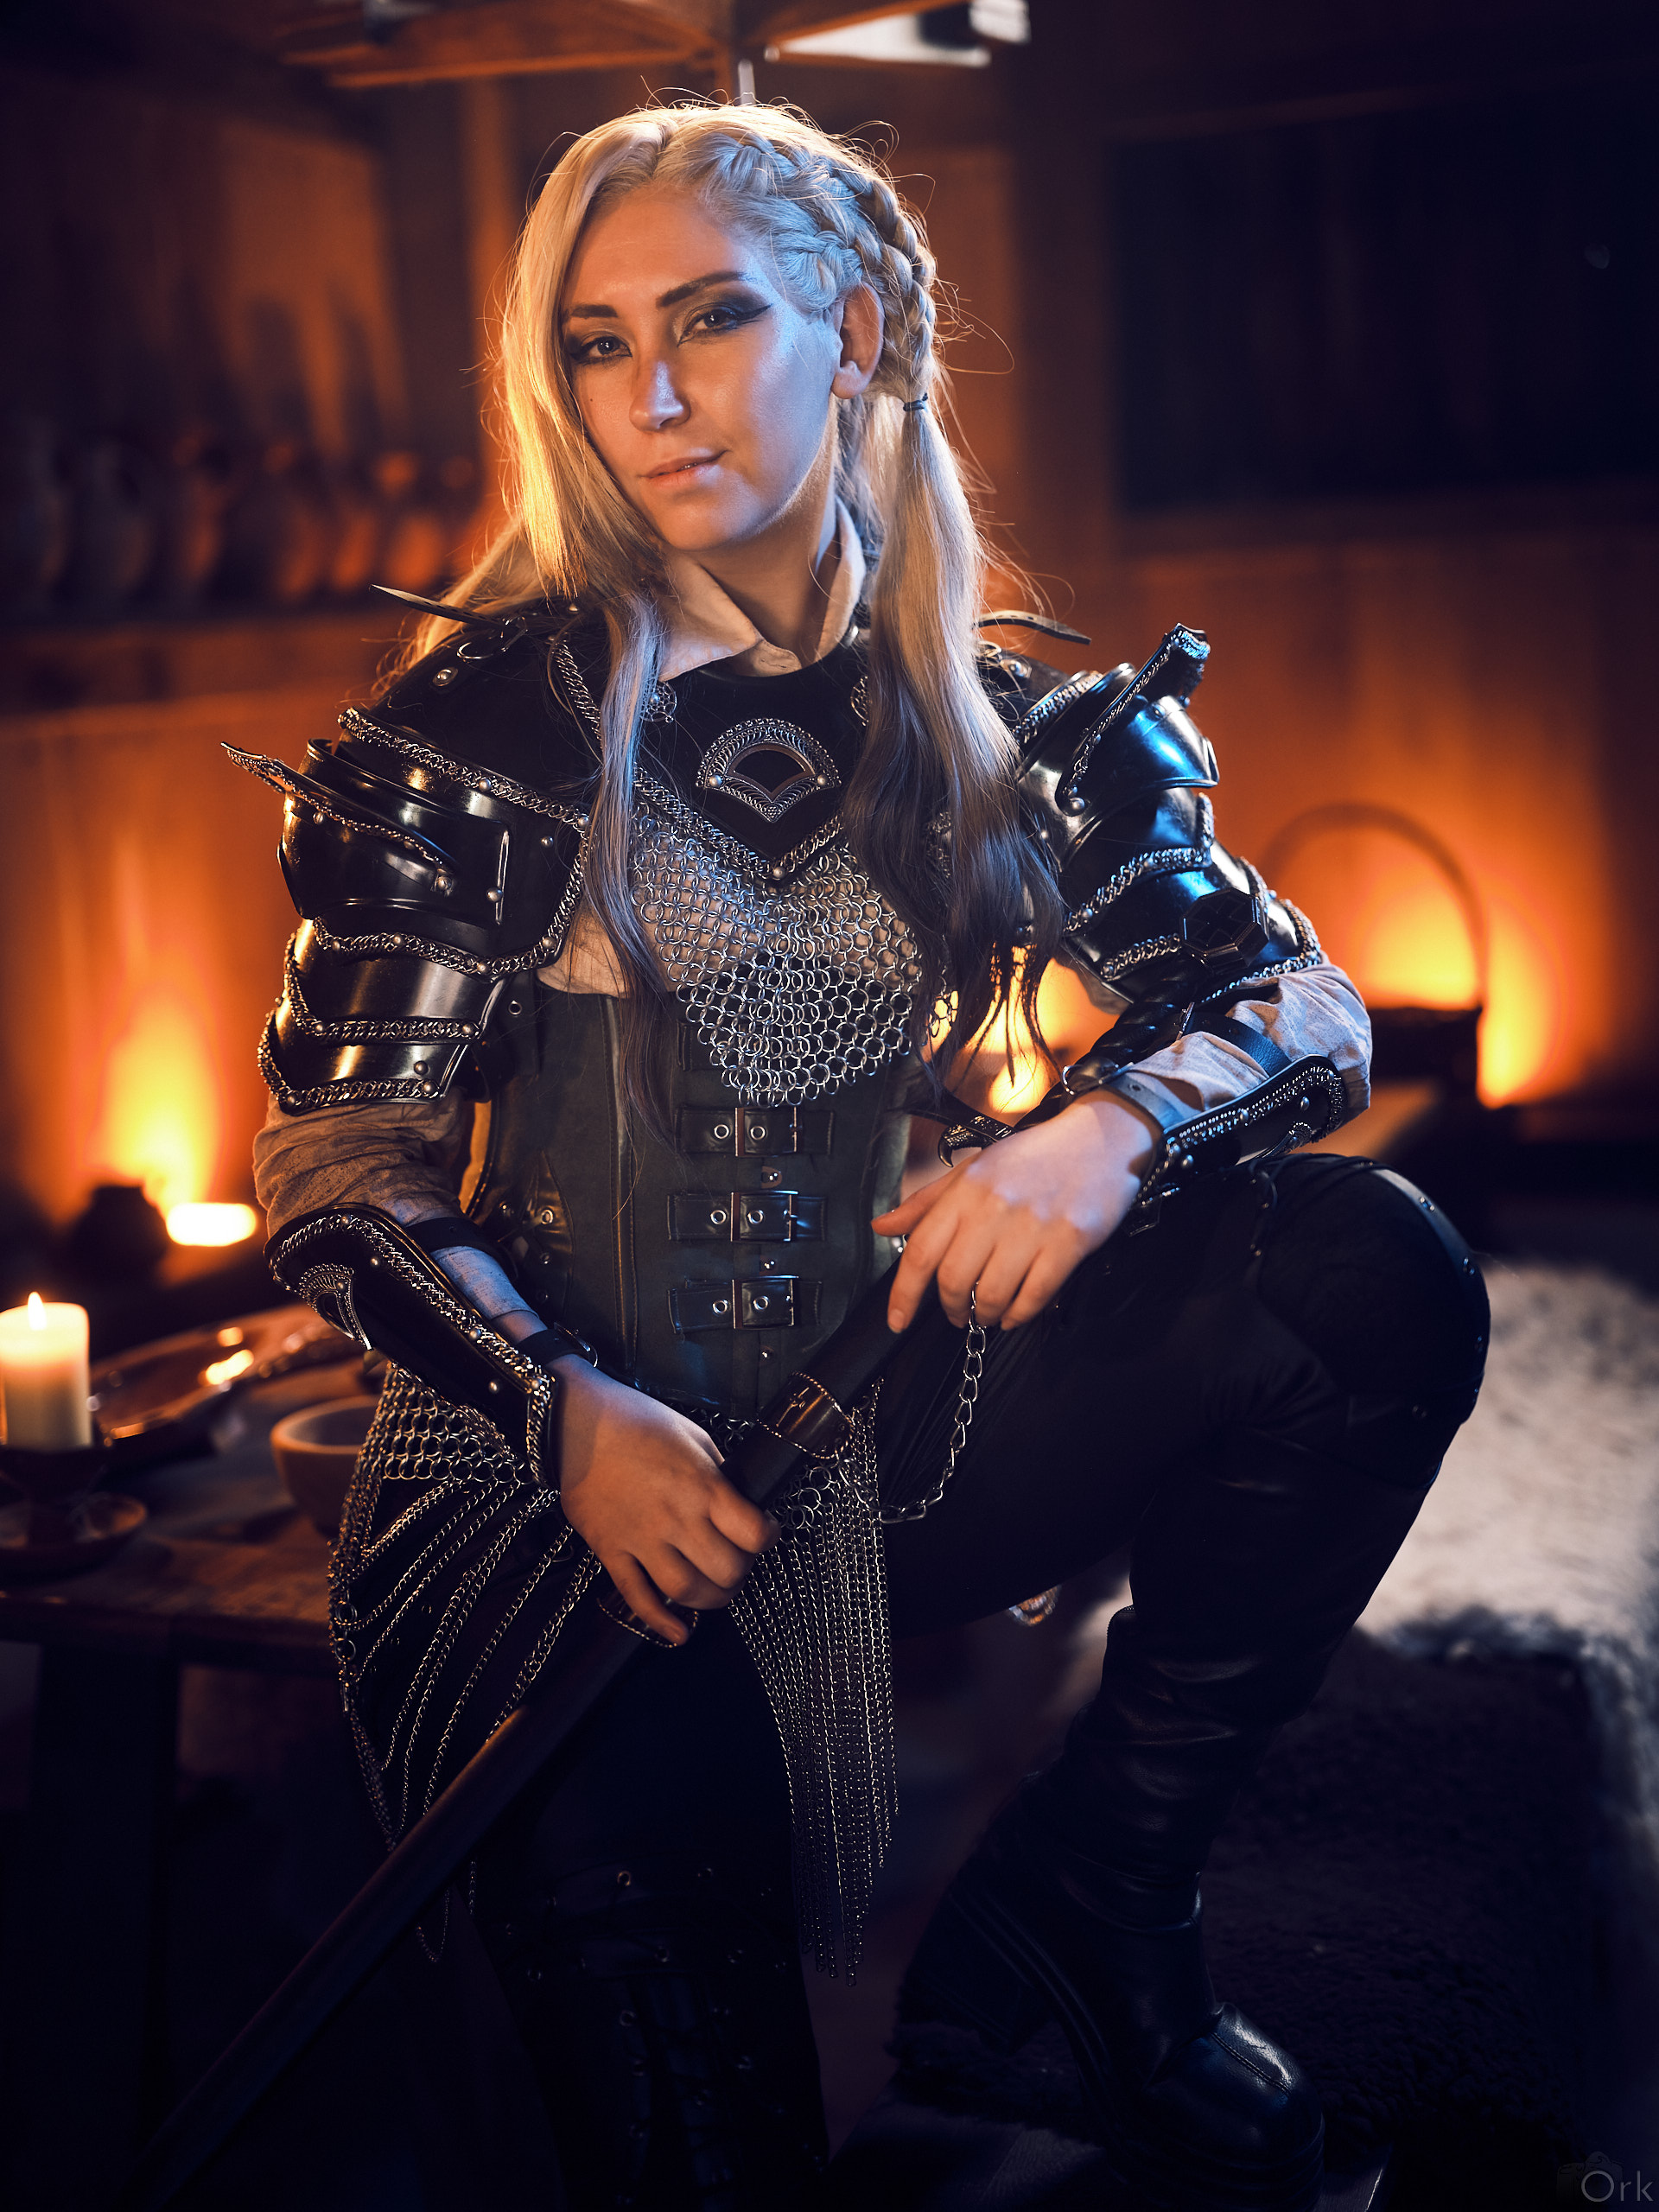
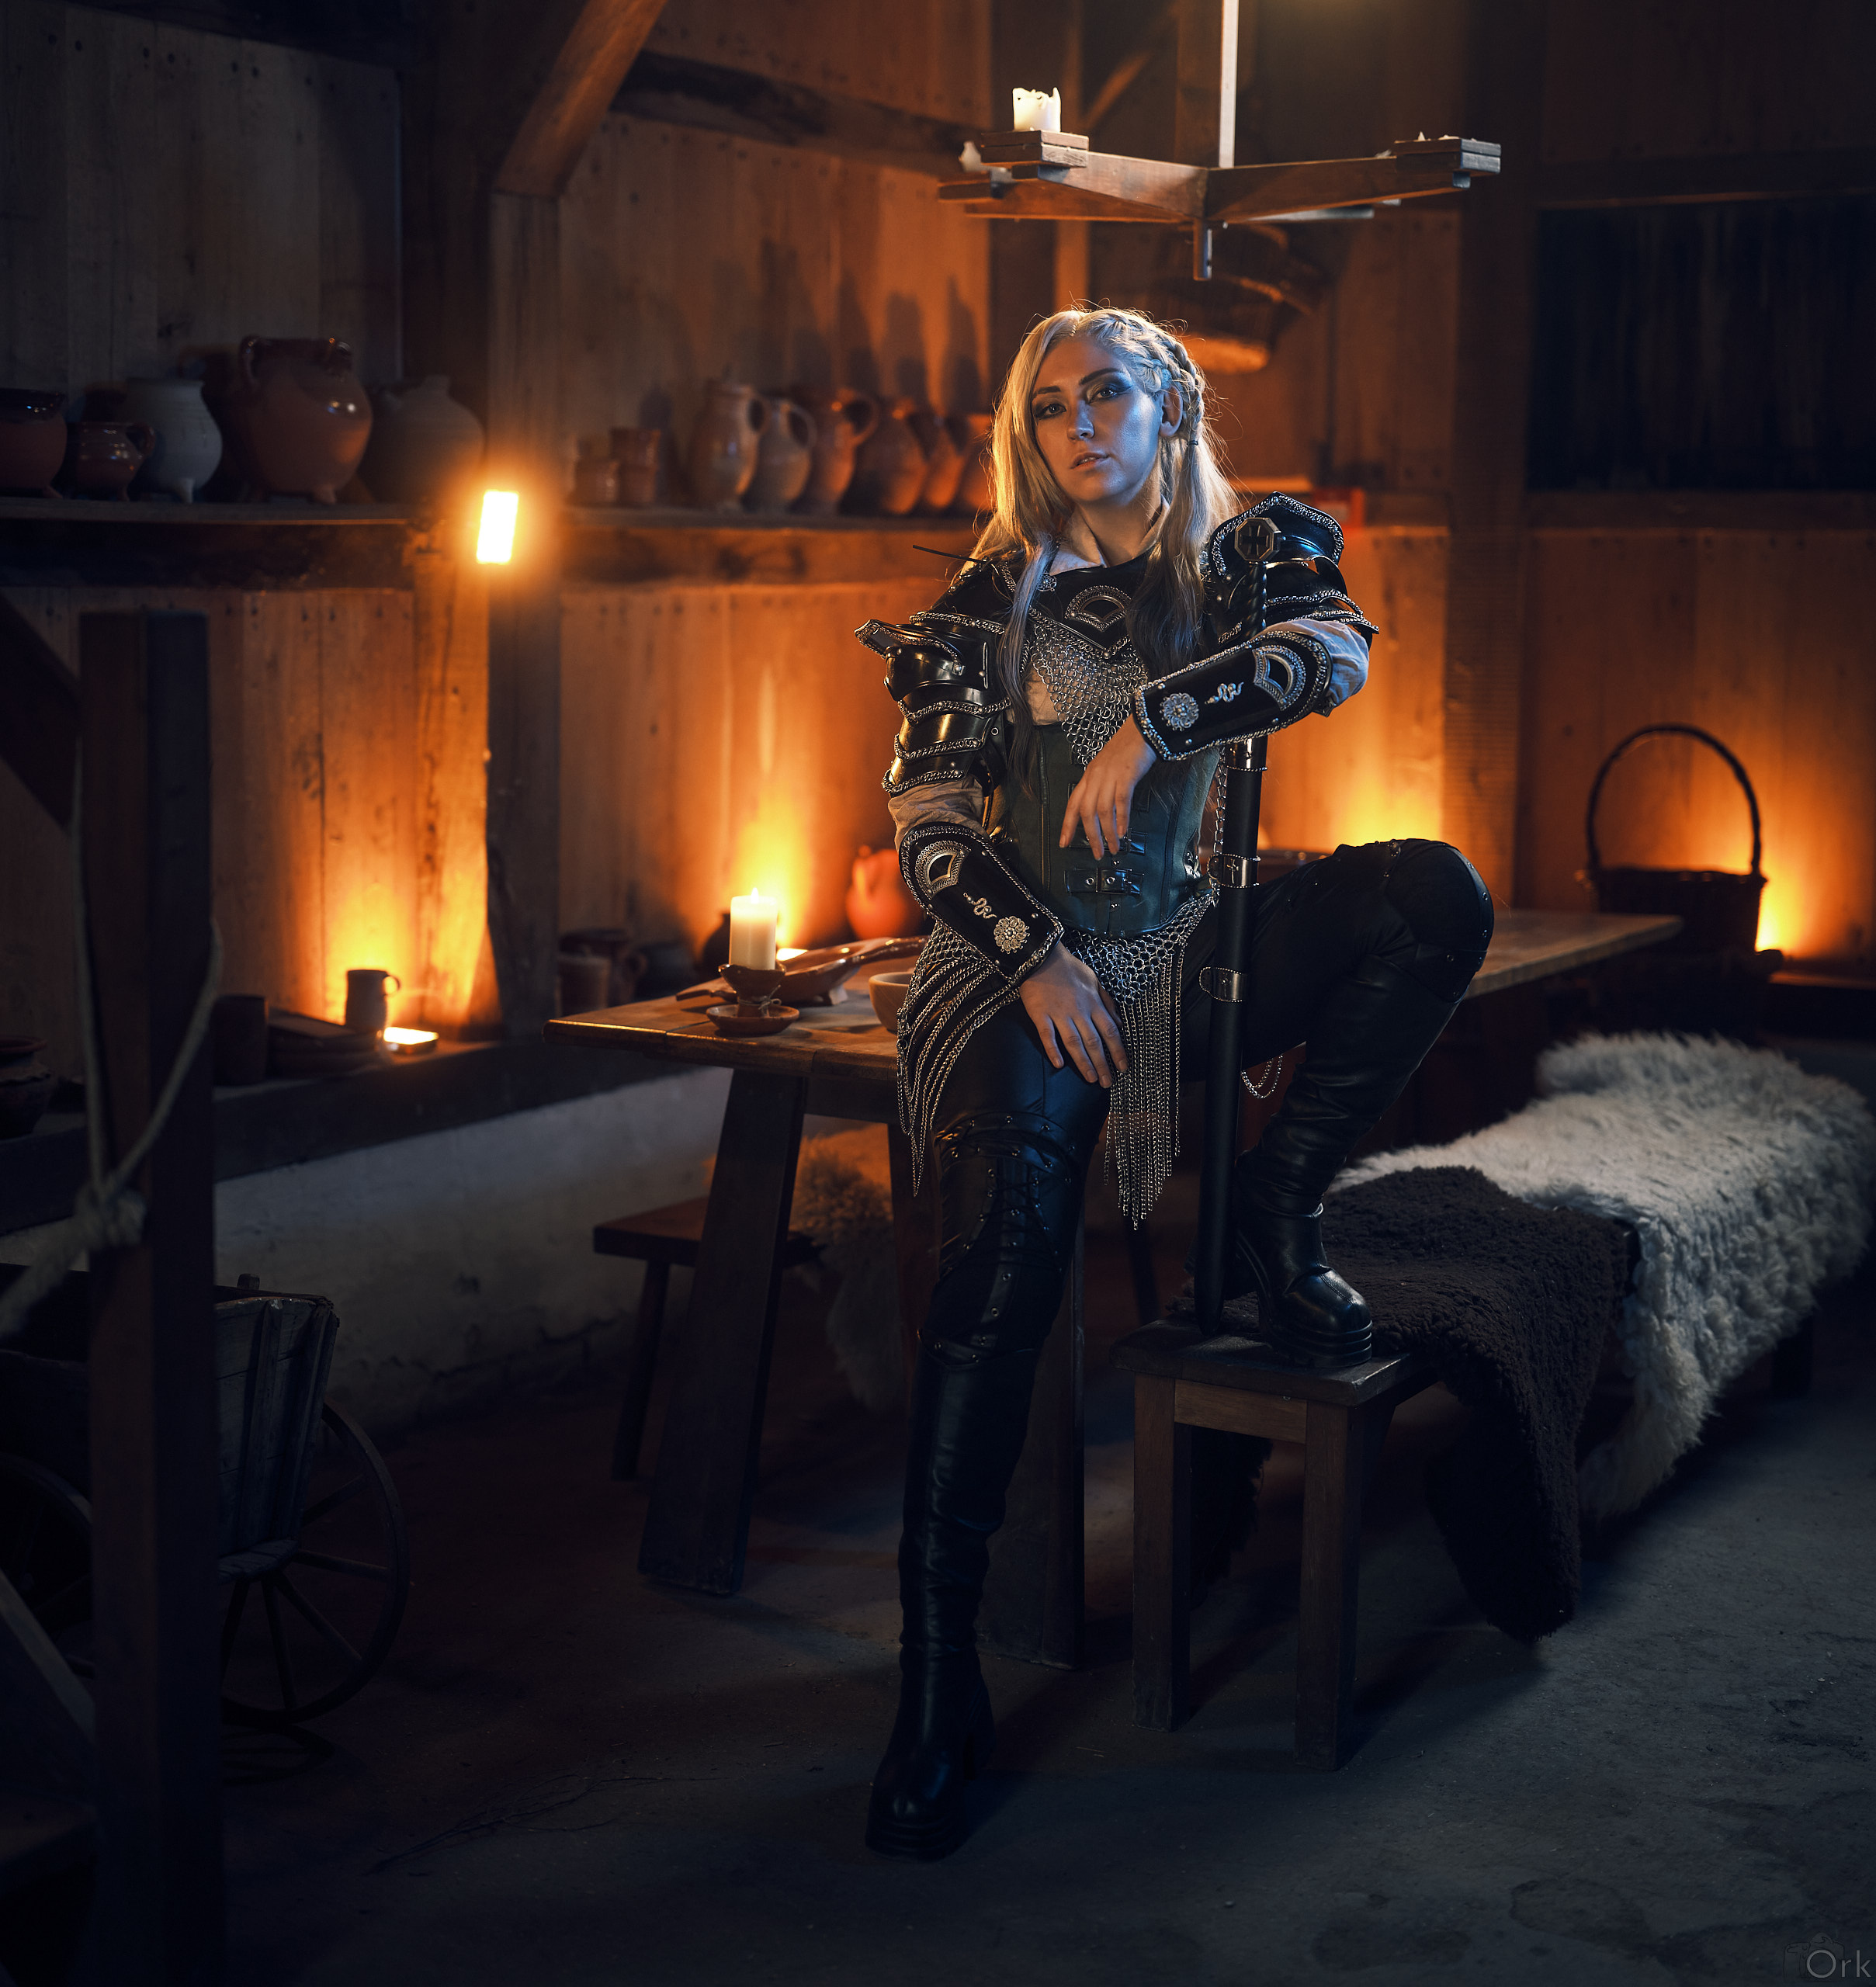
When you add a light - give it a reason why it should be there - even if the reason is off camera. That orange light from the left? Might be from a fireplace. That blueish light from the right - maybe a window that's just outside of the frame. This way the result will feel believable.
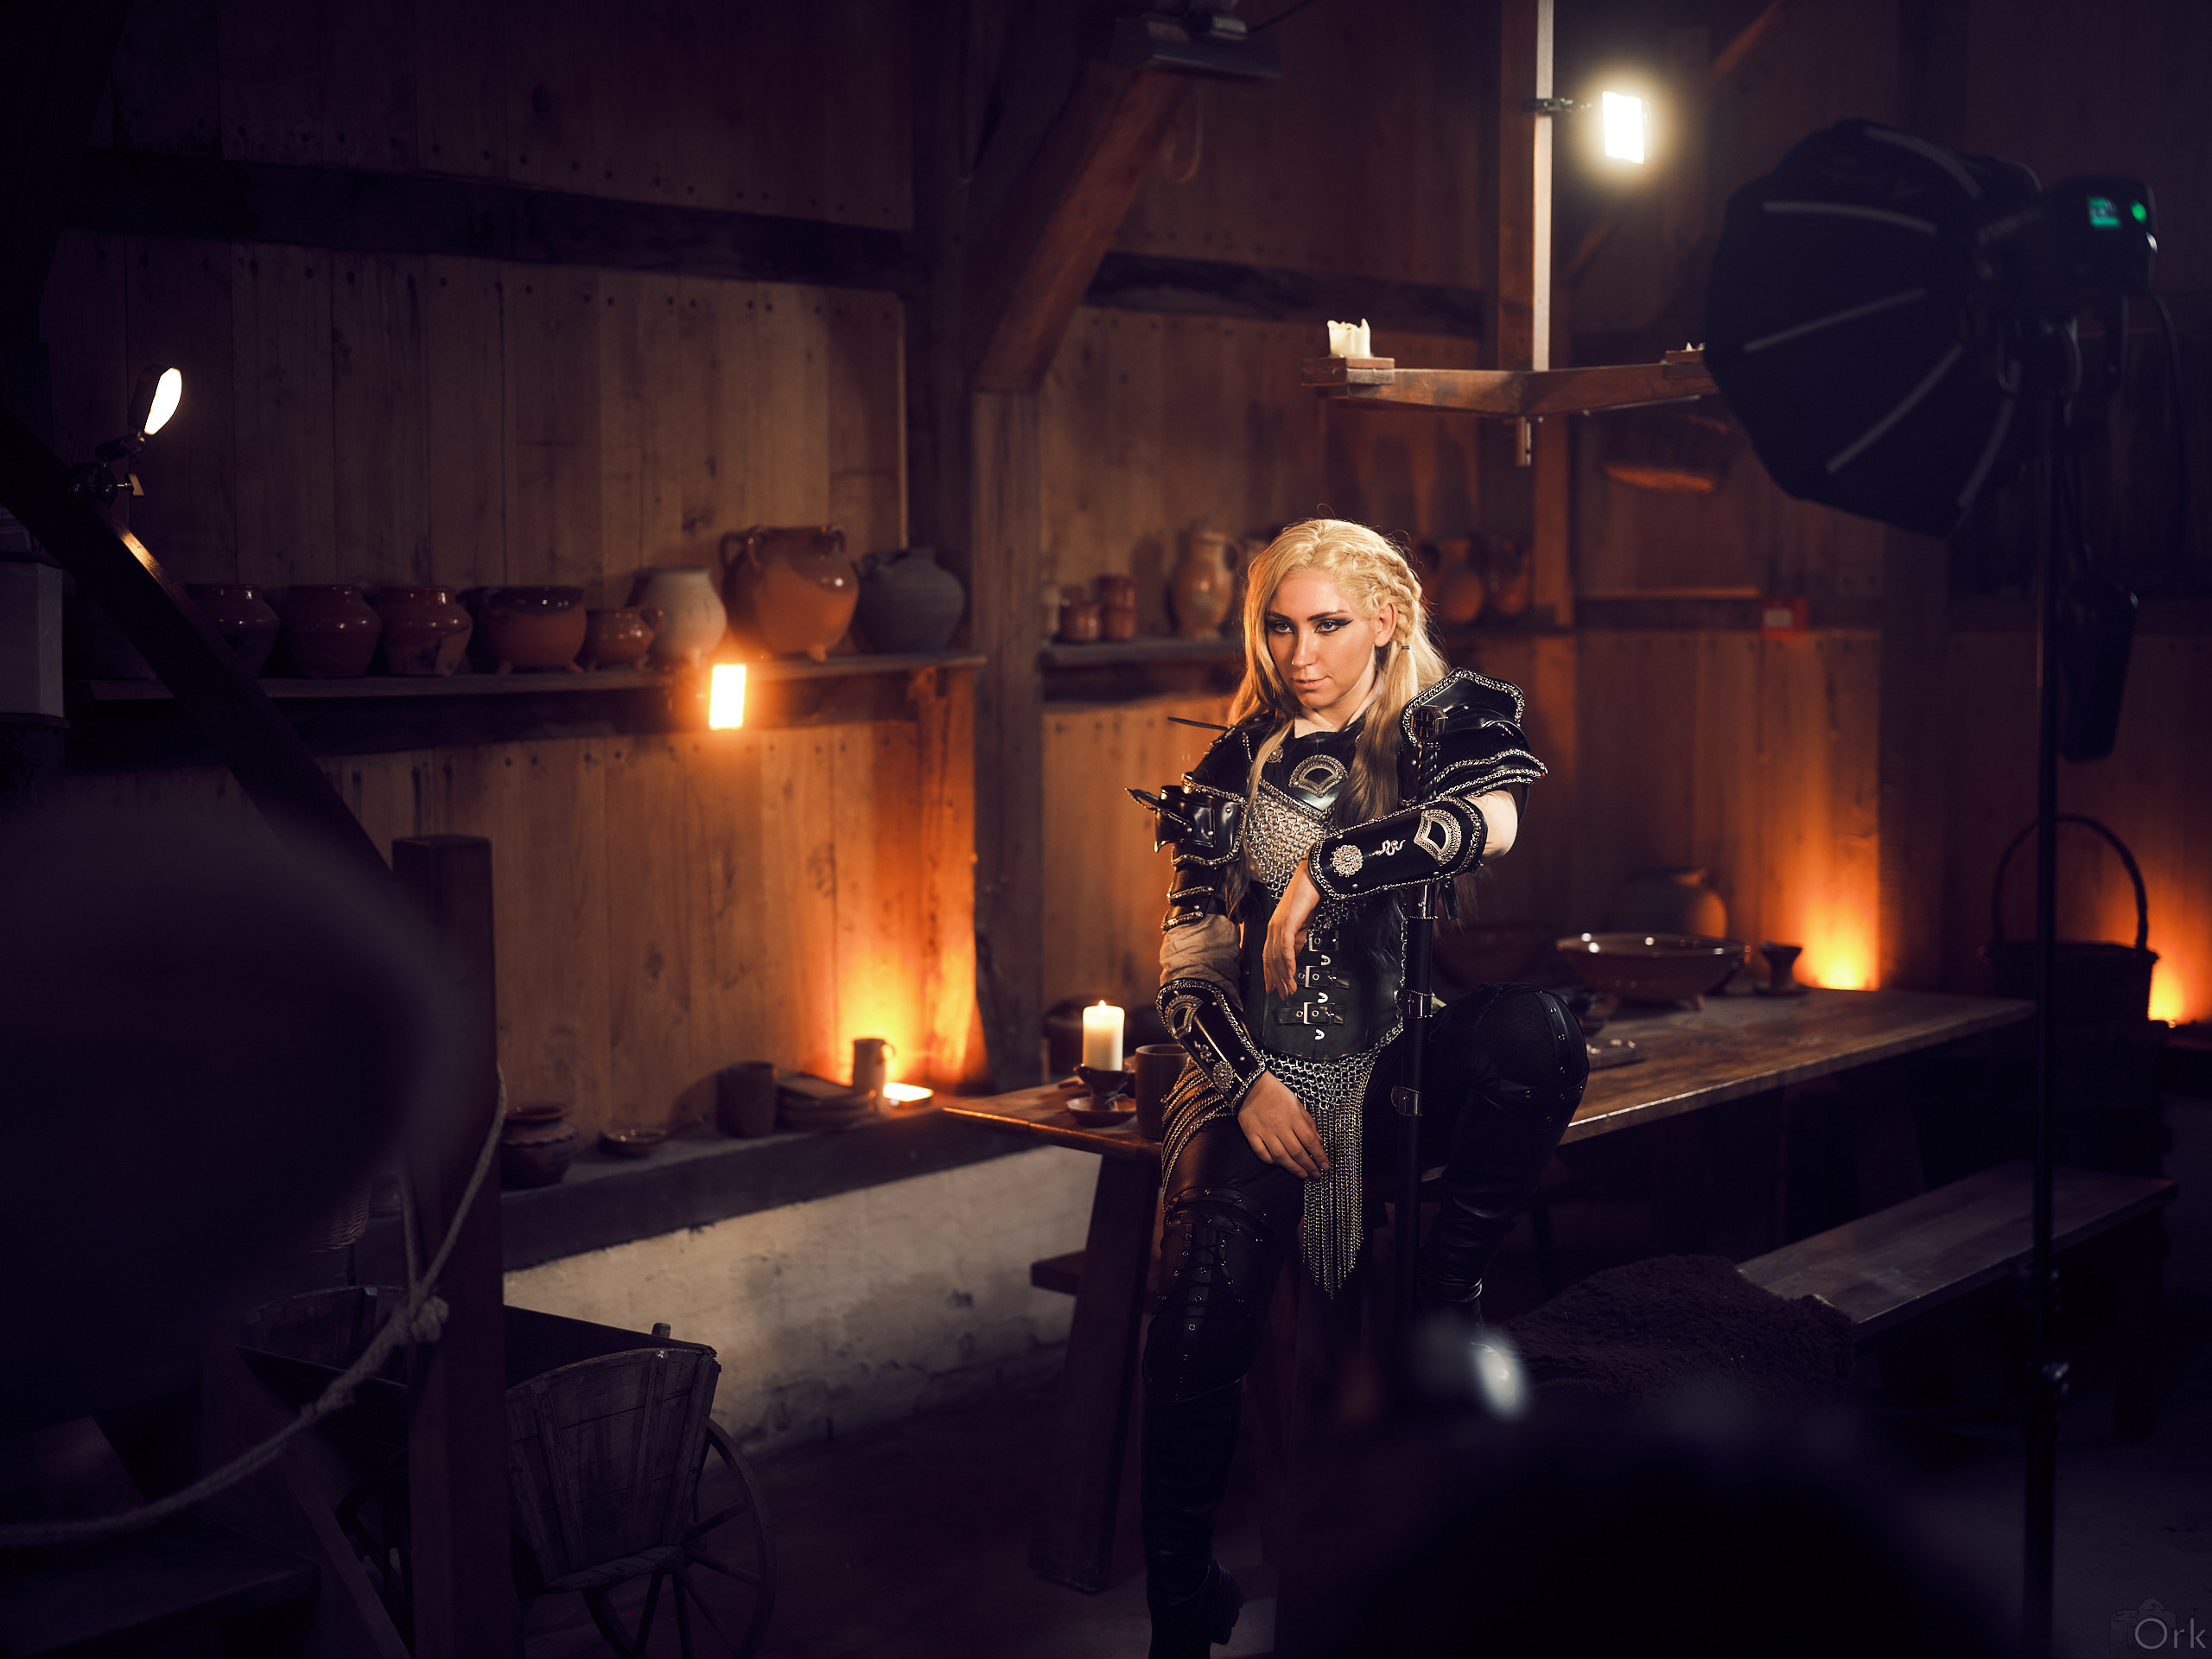
For the second setup, the group chose the spot. That's not a detail — finding a location forces you to articulate why it works. That thinking is the skill. We then went in, placed the model, and added lights to create the story we wanted. As a bonus, at the end we also went for more colorful cinematic vibes, with cyan/orange contrast colors.
The things worth keeping
- Ask the model who the character is before you decide anything else
- Read the location before you set up a single light
- Place your model as part of the world, not decoration in front of it
- Start without light - ask yourself what's missing, then add it
- Light the scene not the model; the model lives there
A side trip: about working with models
A good photograph of a person is made together, not extracted from them. How you treat your model before, during, and after the shoot shapes everything — the images, the energy on set, and whether they'll ever work with you again.
Before you shoot
Introduce yourself. Always. Even if there's a busy schedule and five other photographers waiting - take thirty seconds to make a real introduction. Tell them your name, what you're trying to make today, and what kind of collaboration you're looking for. That small investment changes the dynamic immediately.
From there, build rapport. Ask about the costume, the character, what drew them to it. You're not making small talk - you're doing research. The answers tell you what story is already there to be told.
Stay professional throughout. Enthusiasm is welcome; overfamiliarity isn't. A model who feels safe and respected gives you more than a model who's just tolerating the situation.
During the shoot
Never point your camera at a model when you're only adjusting settings. The moment a lens comes up without any communication, the model will straighten their posture, find their expression, and hold it, expecting a photo. This costs energy - and that means that when you're actually ready to shoot, the model already spent their energy. If you need to check exposure or reframe, tell them: "I'm just adjusting, you can relax." Mean it. Then tell them when you're actually shooting.
Keep talking. Ask about the character - what are they thinking right now, what are they about to do, where are they looking and why? Pose them inside their story, not inside your frame. A model who is living a moment gives you something a posed model cannot.
Trust that they know their own body and their character. You know light and composition; they know how their costume moves and what their character would do. Work with that knowledge.
Tip: If you're working with a mirrorless camera, the model will not hear your camera click, and will not know when to repose. I find saying the word "click" out loud both effective and it creates a relaxed atmosphere.
After the shoot
Before you disappear into days of editing, check in with the model on selects.
The frame you love for its light might be one where they hate what their hands are doing. The one you almost skipped might be their favourite. Neither of you is wrong - but if you edit and deliver in isolation, you risk investing hours in images the model will never share or use.
Share your selection, have the model give input, work together on the end results. Sounds like more work, but this will help you craft something that both of you stand behind - and a model who will actively promote your photos because they genuinely like them.
Second side trip: about the gear I used
While explicitly not part of the workshop, you had some questions about the gear. So, as promised, here's a summary of what I used!
For shoots on the road I want to keep my lighting kit small and portable. Everything needs to fit in a bag so I can move quickly between locations and can set up in minutes.
GFX 100s with GF 55mm f/1.7 - my main cam. Overkill. I love it. Gives that cinematic feel.
1 x Aputure Storm 80c - the main source when we needed something with real output. Bi-colour, punchy, and controllable enough to shape a scene rather than just flood it. Would need power, but can be operated from a USB-C power bank, and that's what I did.
8 x Aputure MC Pro - small RGBWW panels used for accent light, hair light, and atmosphere. Magnetic, clampable anywhere, and precise enough to add a warm glow to a wall or a cool rim behind a shoulder without touching the rest of the scene. Last about 2 hours on battery and can be recharged via USB-C.
4 x SmallRig Clamp - small, allows me to quickly clamp an MC to any surface that allows it without harming the surface.
iPad with Blackmagic app together with Aputure Sidus One - this is the least important - but used to control the lights wirelessly. It allows me to control all types of (CRMX) lights from one app, independent of brand, and allows me to quickly store looks and recall them - which means I can keep the focus on the conversation with the model and building the story together. Note that this can also be done with just a phone + bluetooth though, most brands have a free app for that.
Again, none of this was the point. The lights were tools in service of a story we'd already decided to tell.
My photos
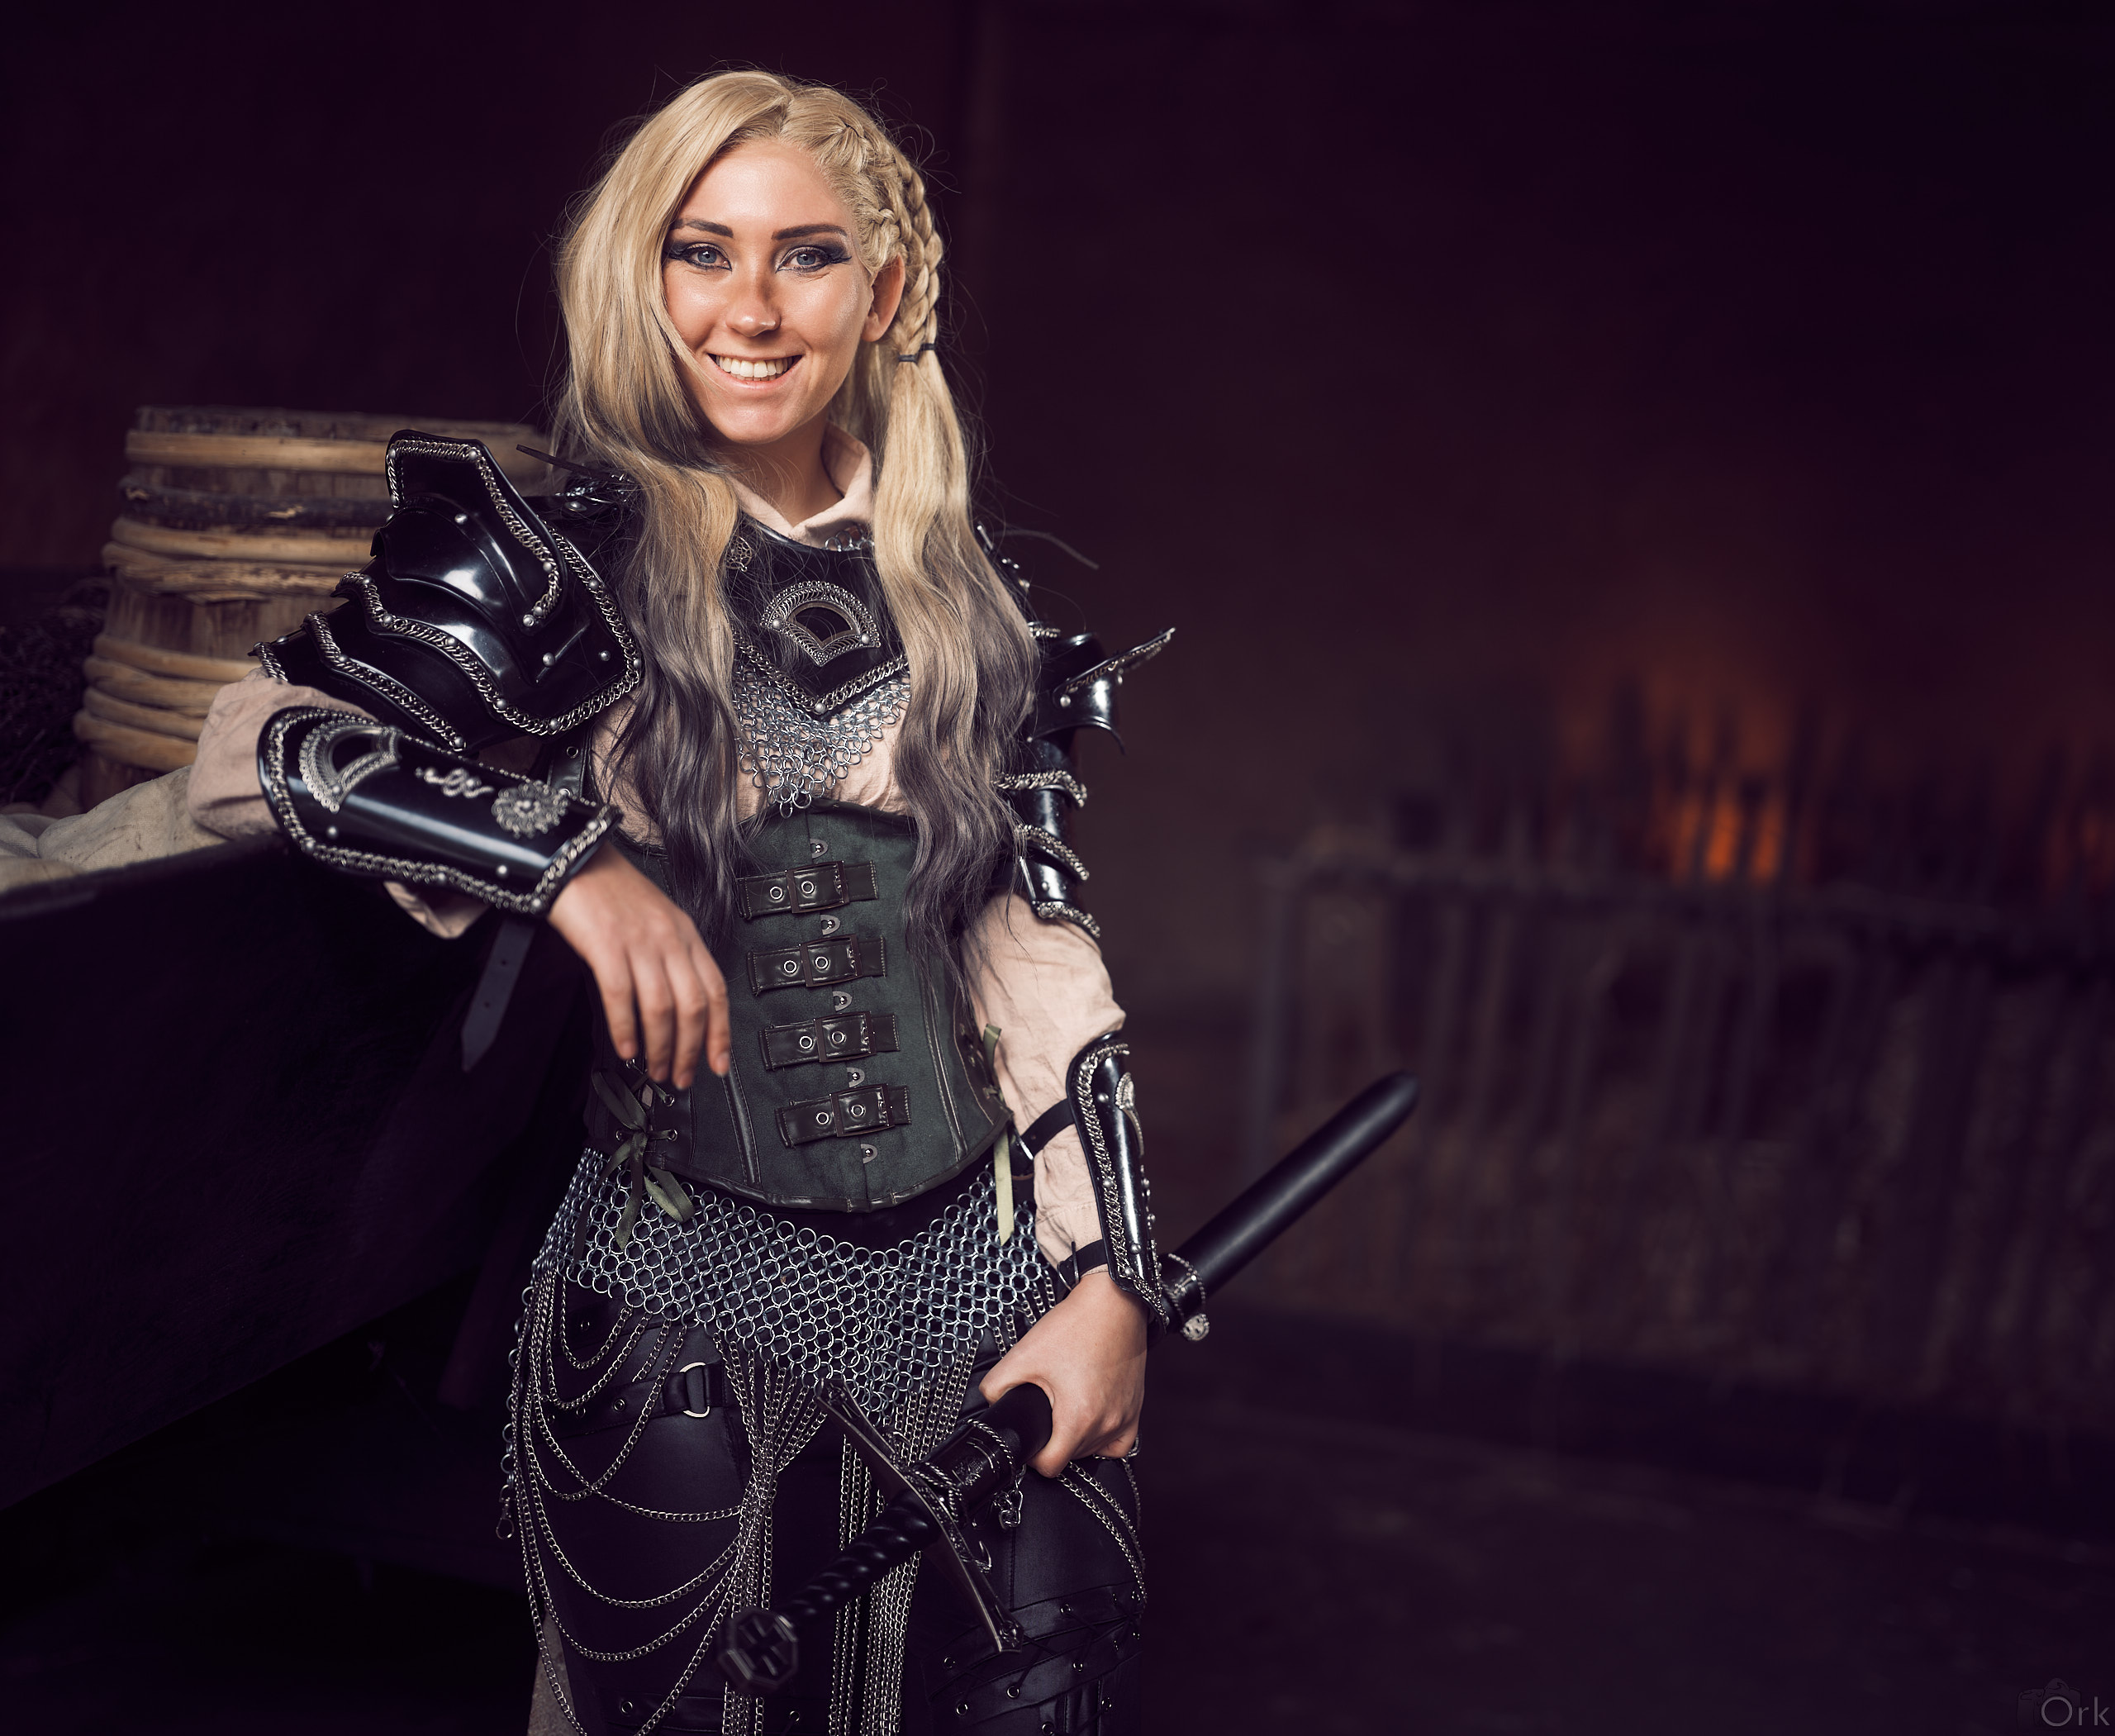
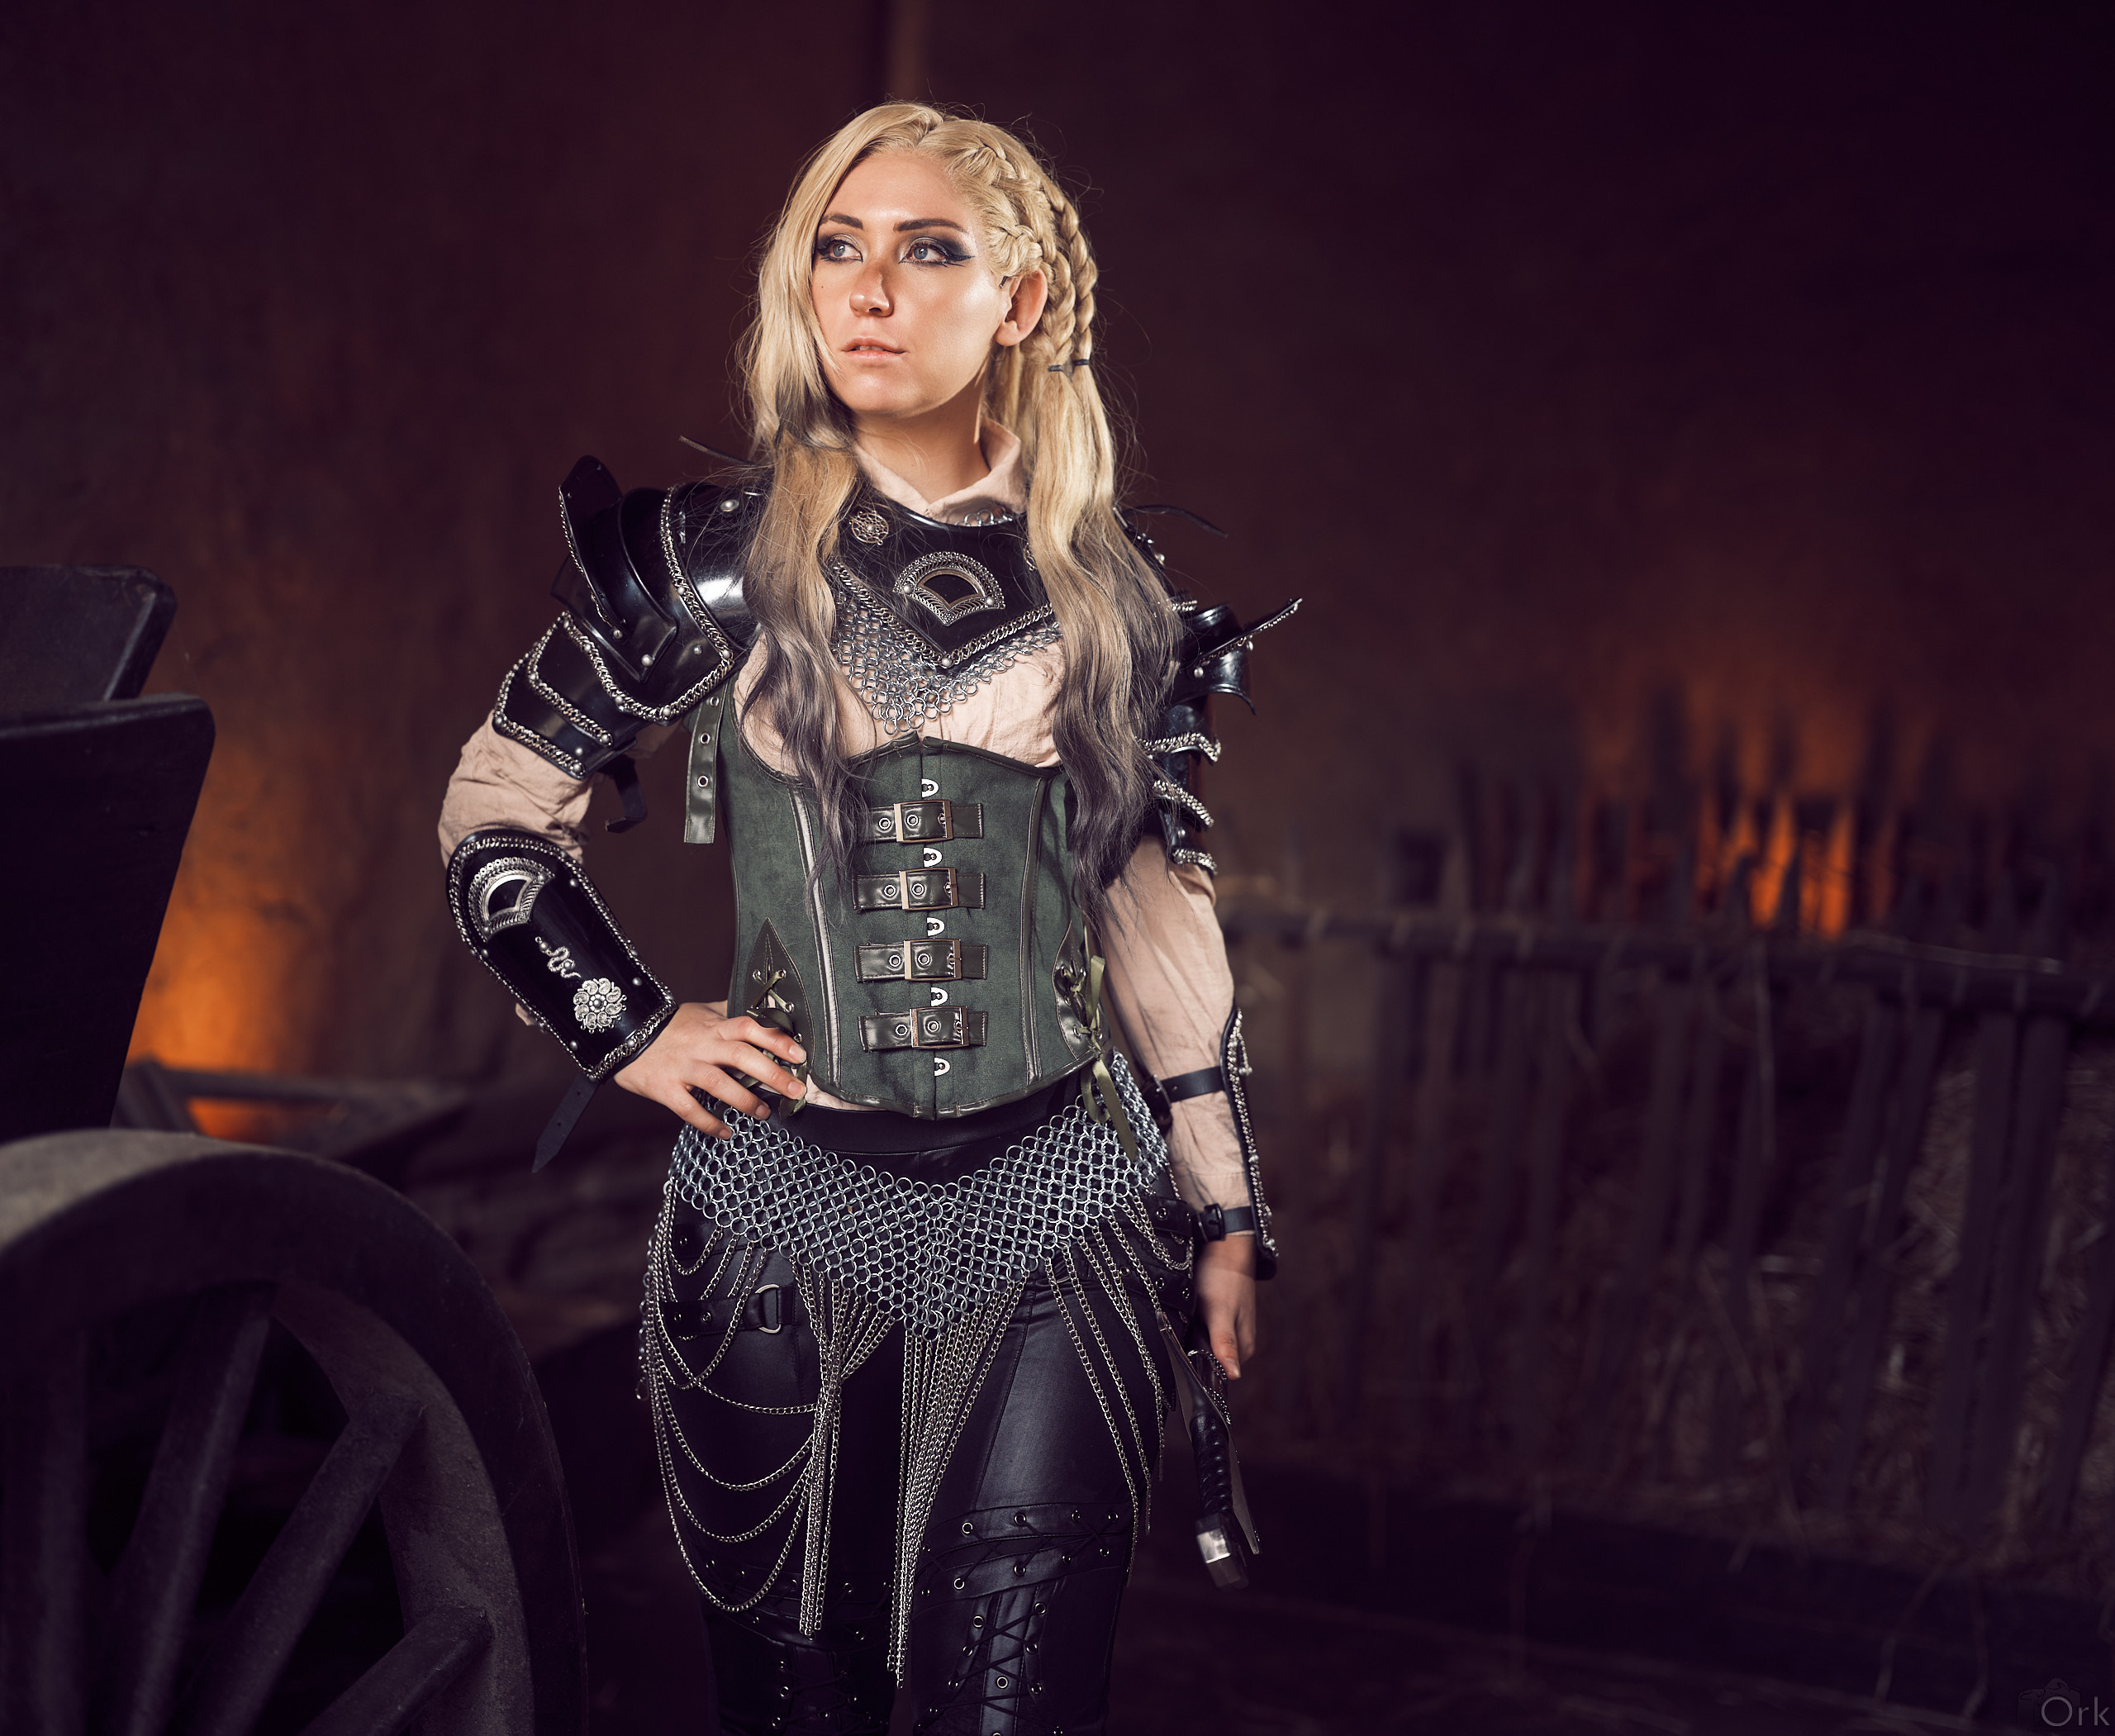
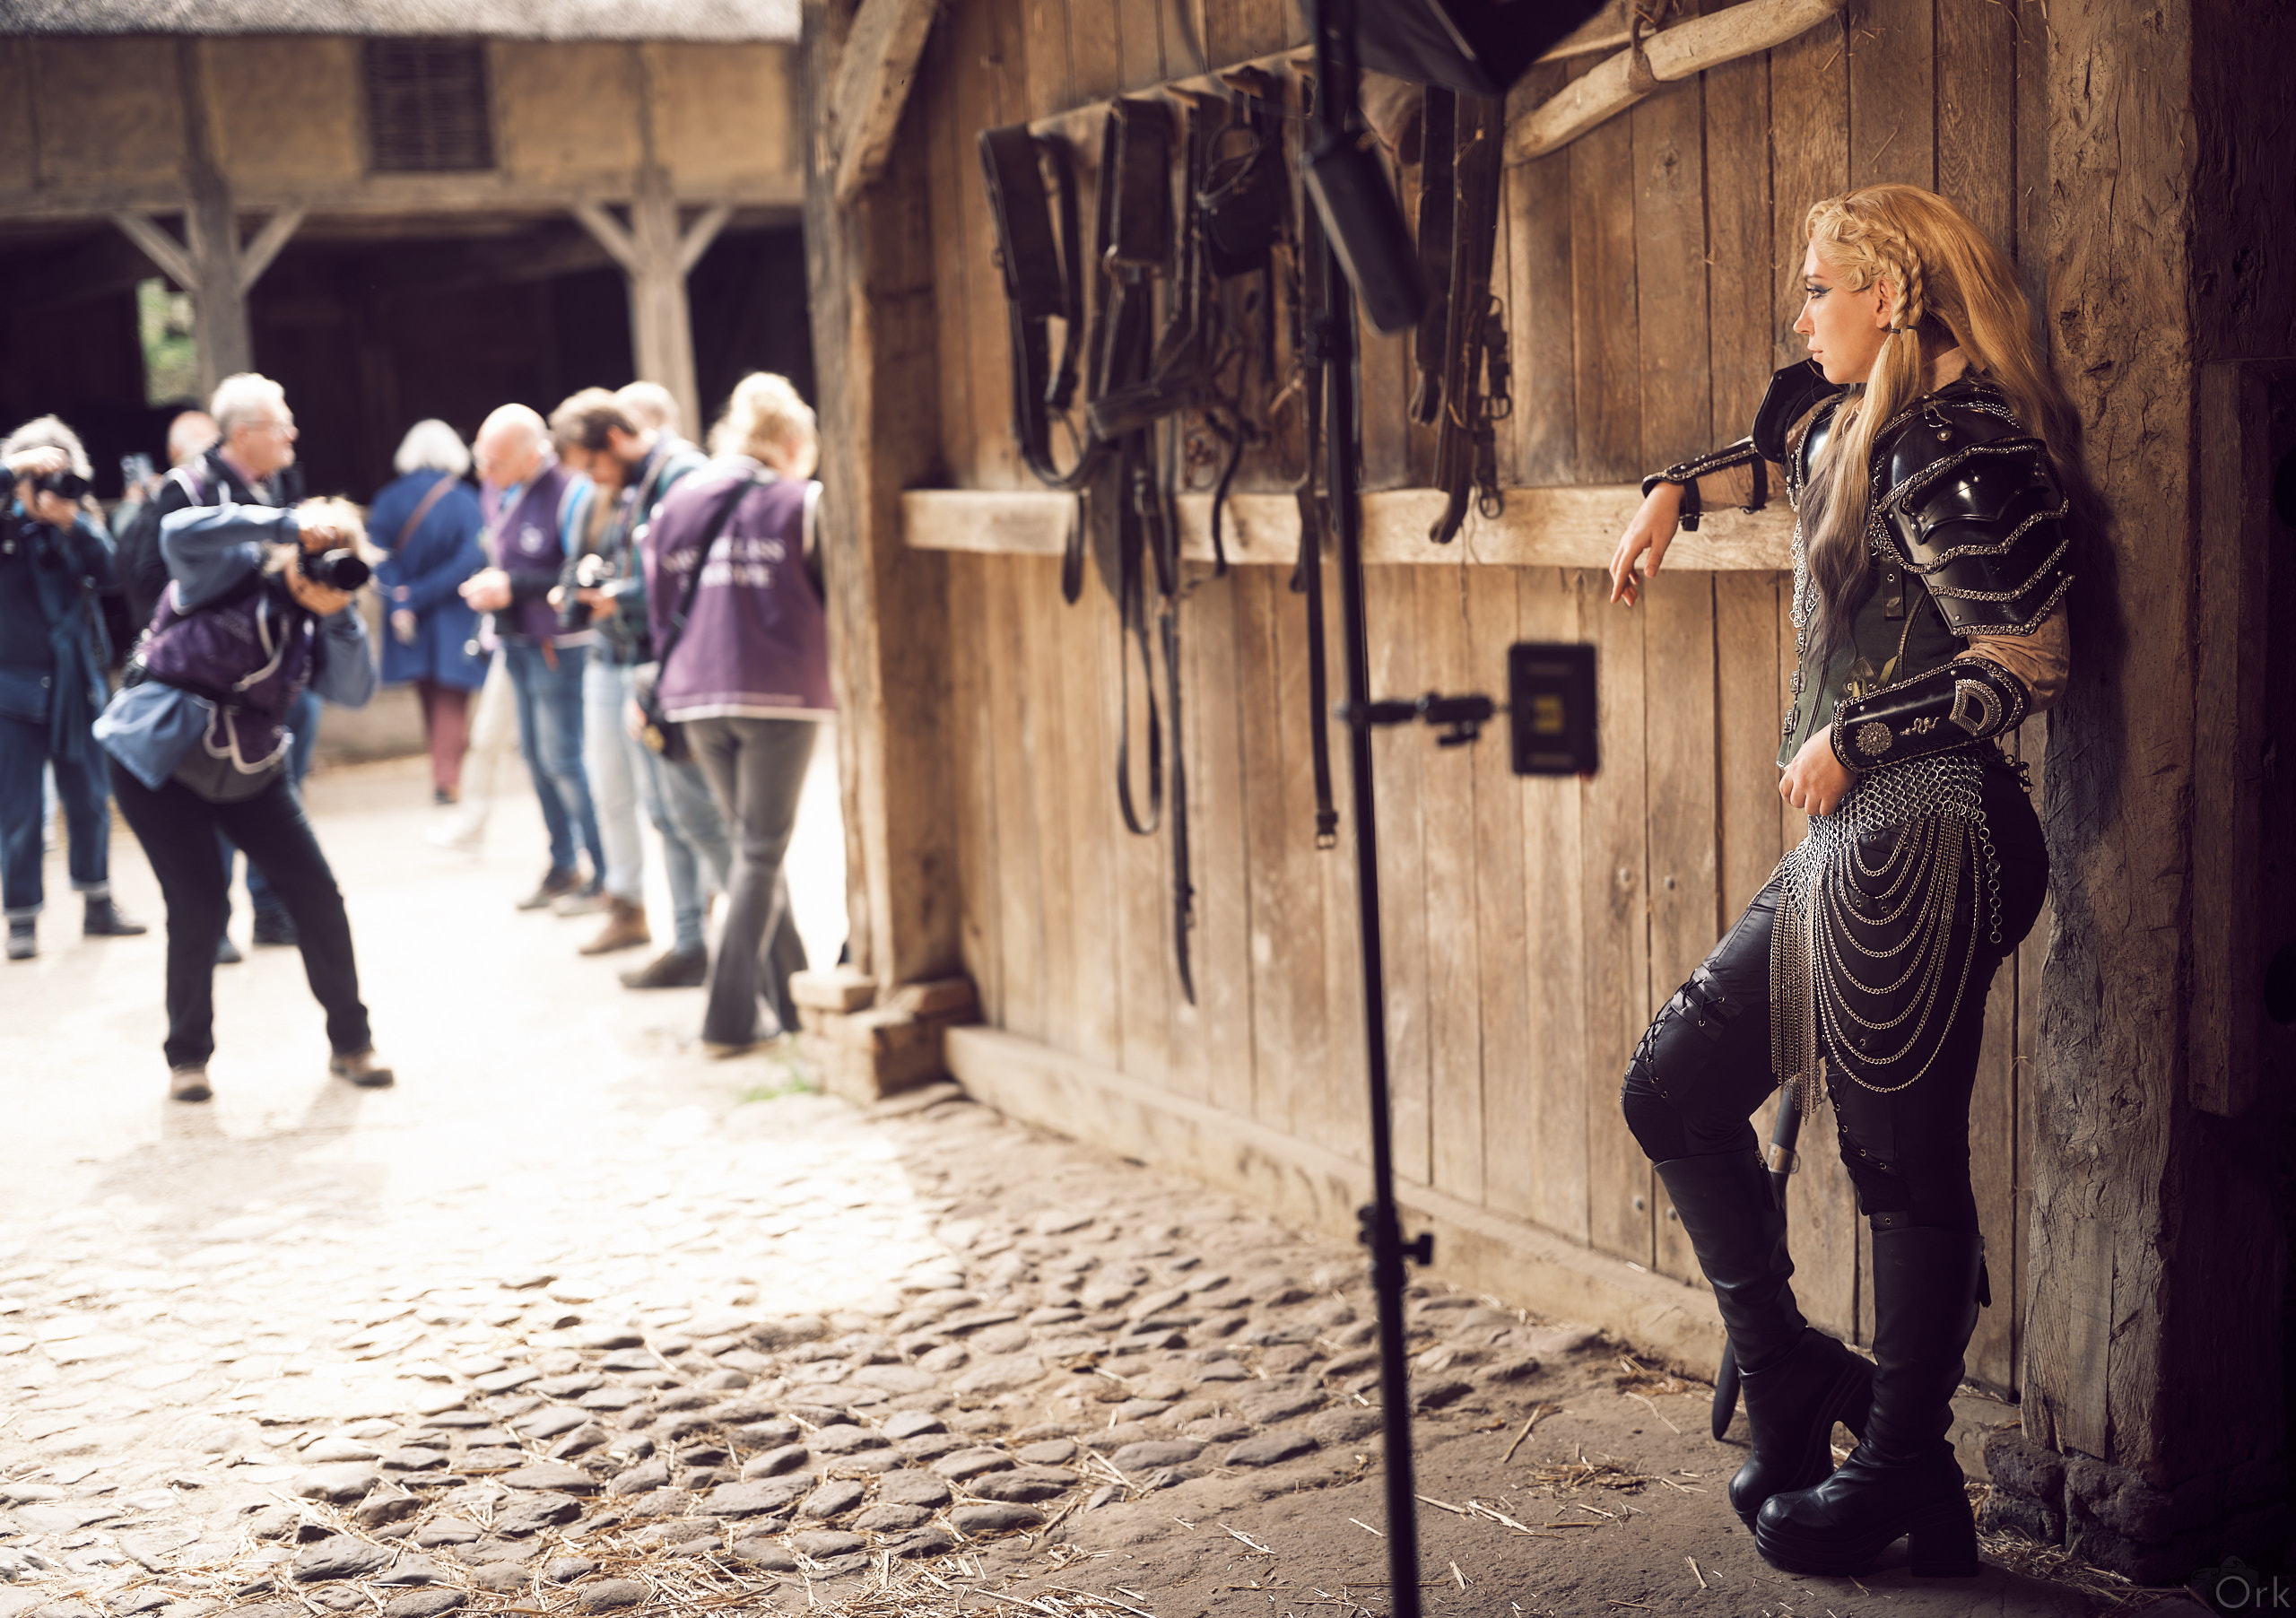
Below are some of the sneaks I shot during the workshop - none of them have detail editing, and I chose to take some shots with lights visible so you can get a feel for the behind-the-scenes.